Each autoresponder you create can have any number of follow-up messages. arpReach will send them out over a period of time you define.
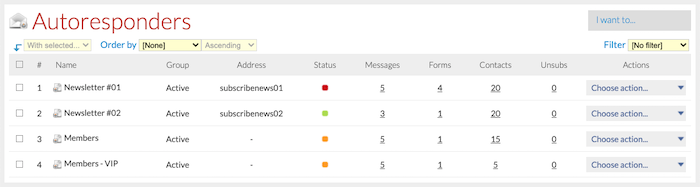
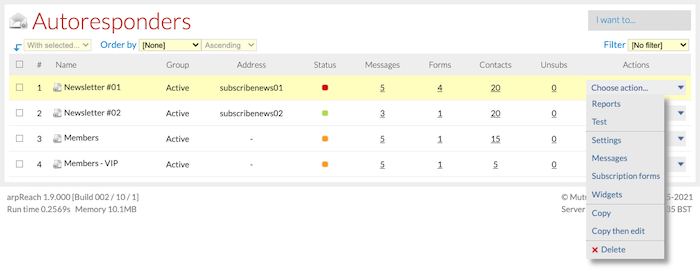
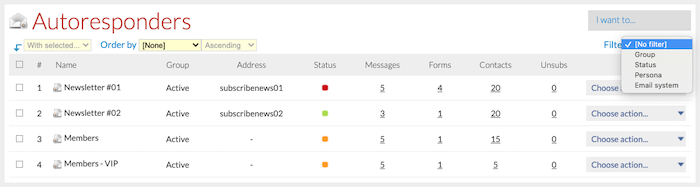
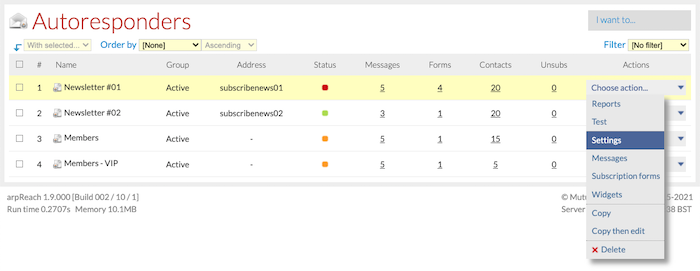
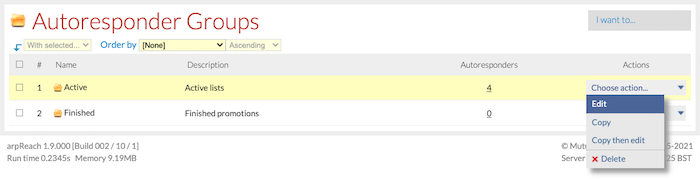
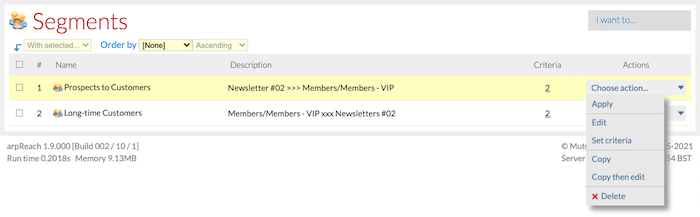
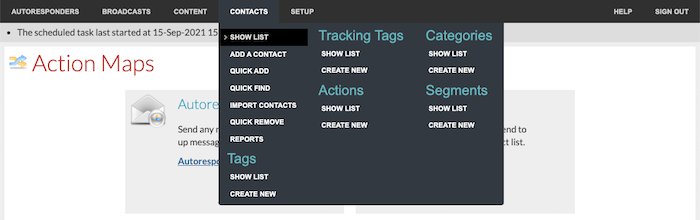
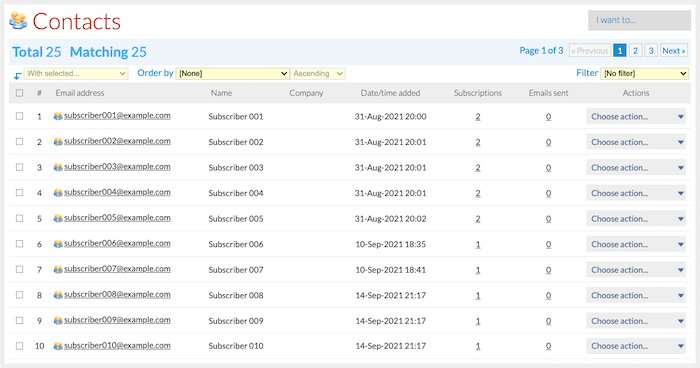
To manage an autoresponder’s messages, choose Messages from the Choose action… drop-down or click the number under the Messages column on the Autoresponders list screen.
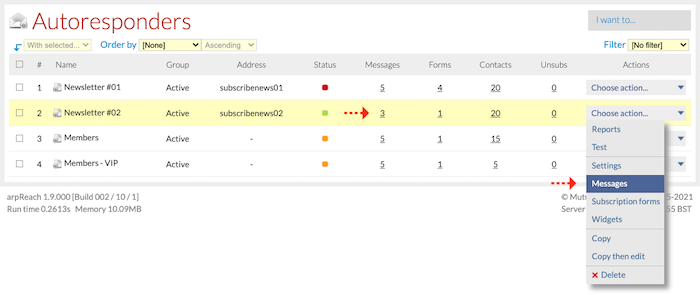
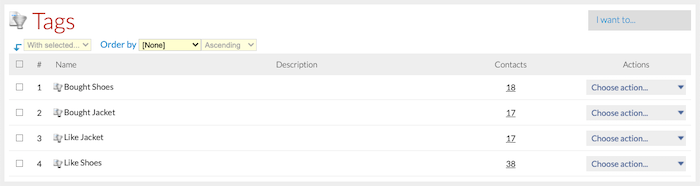
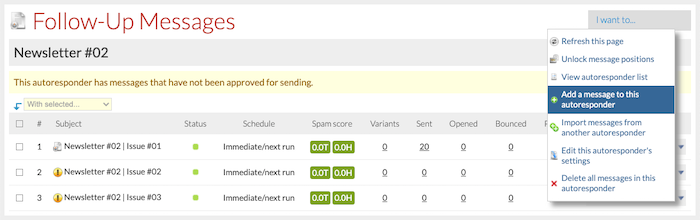
This shows the messages list for the autoresponder. The columns of information in the messages table are:
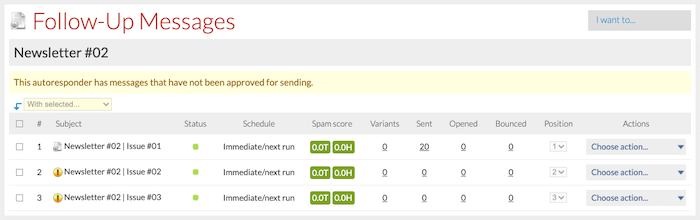
- Subject – the subject of the message. (Note the exclamation to the left of the headline. This indicates that you have not approved your message to be sent. Once you have tested your message, you can approve the message by clicking Approve to send on the Choose action… drop-down menu.)
- Status – the status of the message.
- Schedule – when this message will be sent in relation to the previous message.
- Spam score – a guideline spam score for the plain text (T) and HTML (H) content of the message. The threshold for a message to be classed as spam is five (5), but other factors such as your IP address will also be a factor. Treat this as a guide and not a definitive answer.
- Variants – the number of split-test variants the message has. Click the number to view the variant list. You can test an unlimited number of variants.
- Sent – the number of unique contacts who have been sent the message. Click the number to view those contacts.
- Opened – the number of unique contacts who have opened the message. Click the number to view those contacts.
- Bounced – the number of unique contacts who have bounced this message at least once. Click the number to view those contacts.
- Position – the position of the message in the sequence. This option is grayed out unless Unlock message positions is selected from the I want to… drop-down menu. When message positions are unlocked, you can drag messages up and down the list to set their order. When done, select Lock message positions from the I want to… drop-down menu.
“You can change the order of follow-up messages by dragging them into place on the message list”
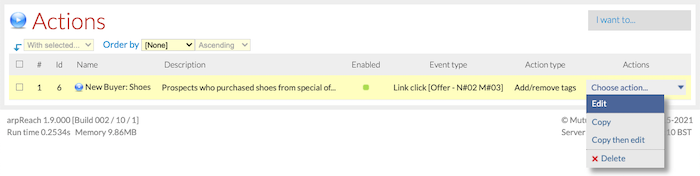
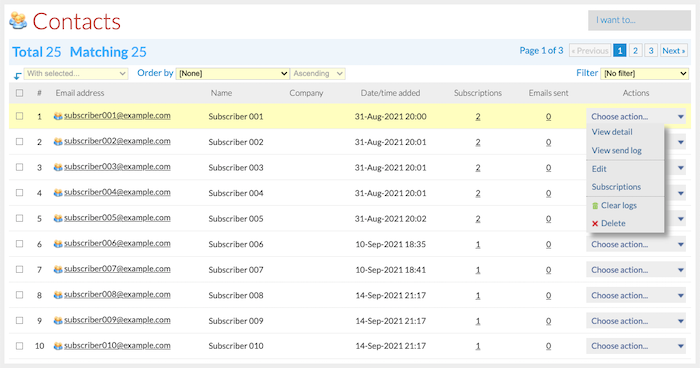
Under the Actions column, you have the Choose action… drop-down menu for each message in your sequence.
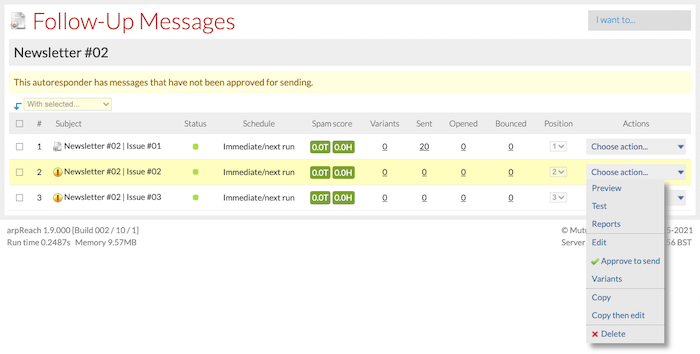
Using the Choose action… menu, you can:
- Preview – preview the message in a popup window. Your browser needs to allow pop-ups for this to work. The preview window has tabs for the plain text and HTML versions of the message.
- Test – send yourself a test version of the message and its split-test variants.
- Reports – graphical reports on the open and bounce rates for the message and its split-test variants.
- Edit – edit the message settings and content.
- Variants – add and manage the split-test variants for the message.
- Copy/Copy then edit – create a new message by copying the message’s settings and content.
- Delete – delete a message from the follow-up sequence.
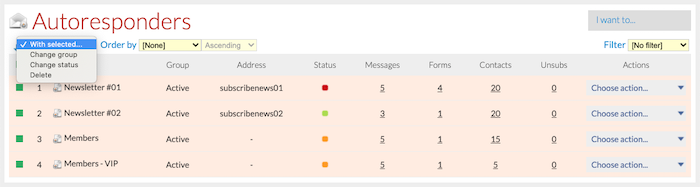
On the With selected… menu:
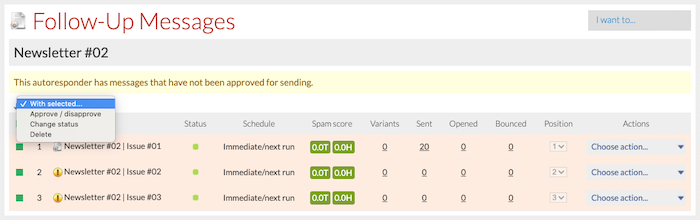
… you can approve or disapprove, change the status, and delete the messages selected.
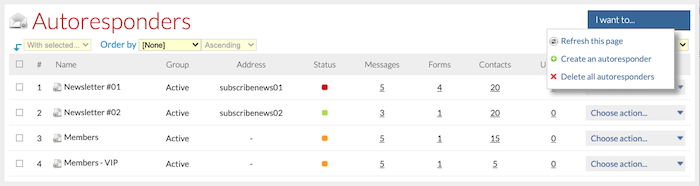
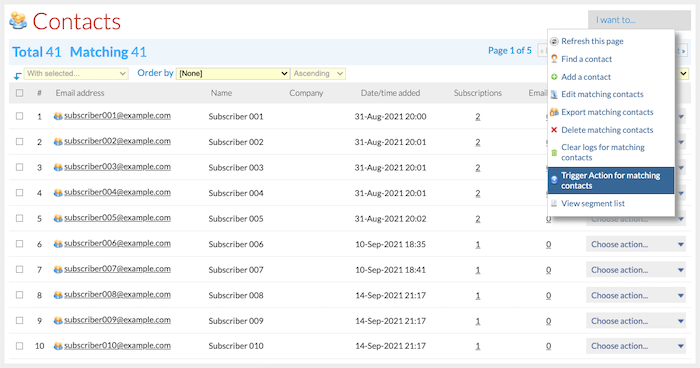
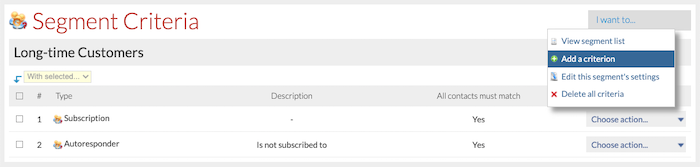
On the I want to… drop-down menu, you can:
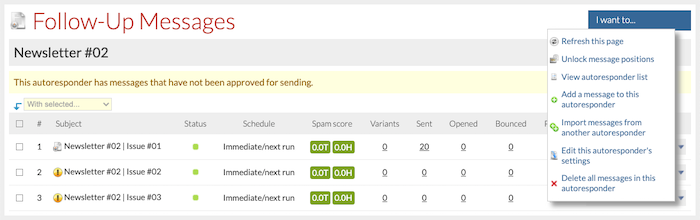
- Refresh the page to update send, open, and bounce counts.
- Unlock the message positions to change their order using the Position column or dragging.
- View the autoresponder list.
- Add a new message to the follow-up sequence.
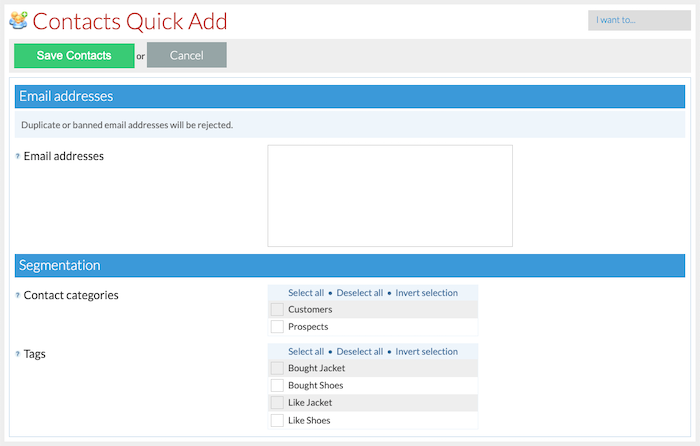
- Import messages from another autoresponder in your system.
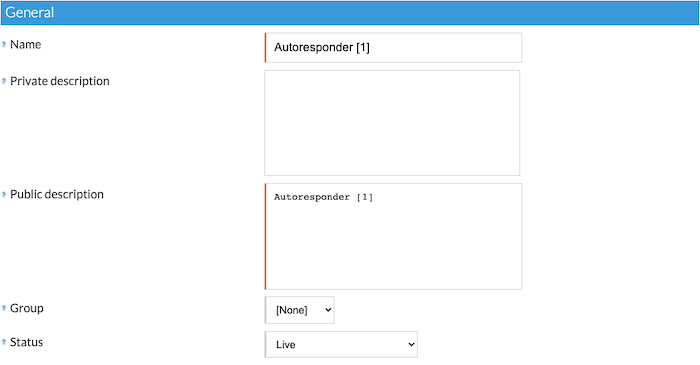
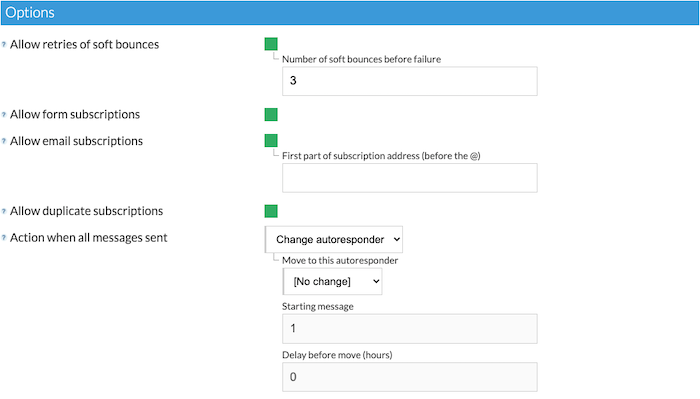
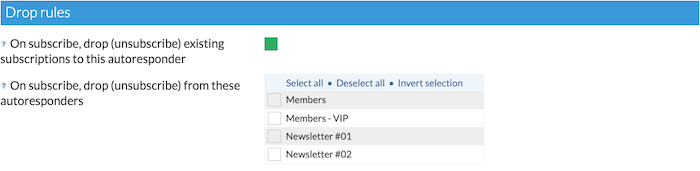
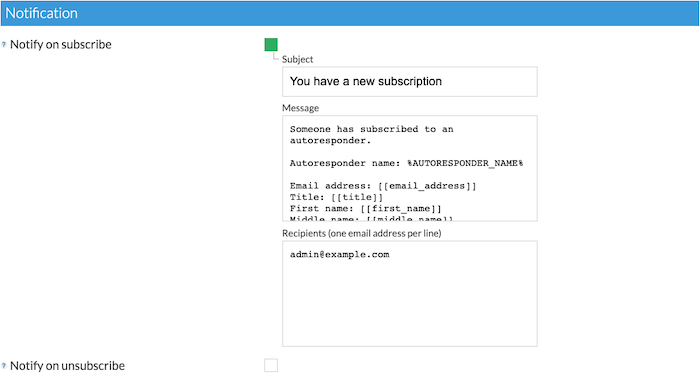
- Edit the autoresponder’s settings.
- Delete all the messages in the autoresponder’s follow-up sequence.
Tip! To maximize your return on investment, you can and should split test every message you send.
Add your first message into an autoresponder
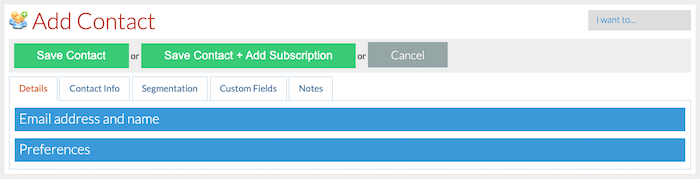
Using the I want to… menu, select Add a message to this autoresponder.
When adding or editing a follow-up message, the settings are the same.
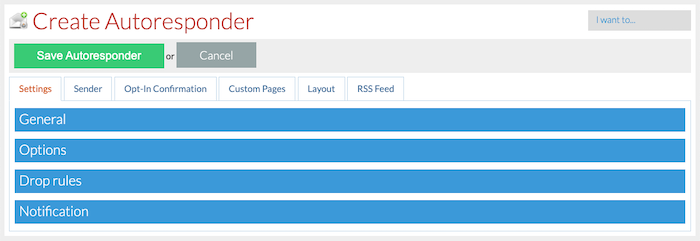
The Add Follow-Up Message screen is split up into three tabs for easy management, which are:
- Settings
- Message
- RSS Feed
The Settings Tab
The Settings tab has three sections: When to send, Day, time and duplicate restrictions, and Tracking and reporting.

When to send Section

- Status – the status of the message. The options are:
— Live – the message is live and being sent as required. You will need to make your messages live when you are ready to send them.
— Inactive and skip (default) – the message is not live and subscribers reaching this point will jump over it and continue.
— Inactive and block – the message is not live and subscribers reaching this point will stop and not receive any more messages. - When to send – this is where you set when this message should be sent. The options are:
— Immediate/next run – the message will be sent as soon as possible. For form, email, and admin system subscriptions, this means immediately. For imported data, it means when the scheduled task next runs.
— Interval in hours/days – the number of hours/days since the previous message before this one may be sent. The message will be sent as soon as possible after the interval by the scheduled task.
For new subscriptions where no previous messages have been sent, this interval is calculated from the date and time of subscription to the autoresponder.
— Monday to Sunday – the message will be sent on the next occurrence of the day of the week specified, assuming the scheduled task is running on that day. - Approved for sending – check this box to approve this message for sending. Only administrators and users with the correct permissions can approve messages. See Permission Profiles for more information.
Day, time and duplicate restrictions Section
This section allows you to control the days and times that the message may be sent. For example, you may wish to prevent sending the message during the night or at weekends.
“You can avoid sending messages at weekends and during the night”

- Can only send on these days – check the days that the message may be sent. Use this to avoid certain days such as weekends.
- Earliest time to send – choose the earliest time that this message may be sent. Use this to avoid sending too early in the morning.
- Latest time to send – choose the latest time that this message may be sent. Use this to avoid sending too late at night.
- Never allow to be resent – check this box to ensure that a contact is never sent this follow-up message more than once, even if the order of messages in the autoresponder is changed.
Tracking and reporting Section
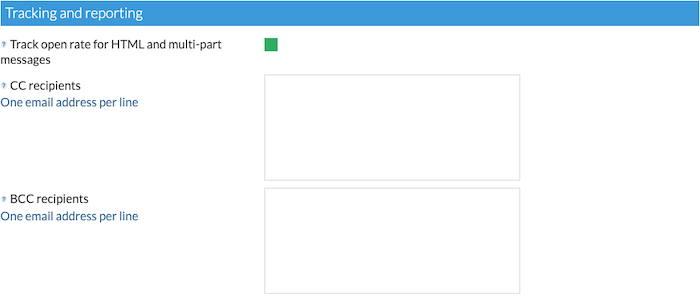
- Track open rate for HTML and multi-part messages – check this box to track the open rate for HTML and multi-part messages. Email technology does not allow tracking to work for plain text messages.
- CC recipients – enter a list of email addresses (one per line) that will be CC’d on this message every time it is sent to a contact. Note that all recipients, including the contact, will see the CC’d list.
- BCC recipients – enter a list of email addresses (one per line) that will be BCC’d on this message every time it is sent to a contact. Recipients, including the contact, will not see the BCC’d list.
The Message Tab
The Message tab is split into three sections for easy management:
- Content
- Layout
- Attachments

Content Section
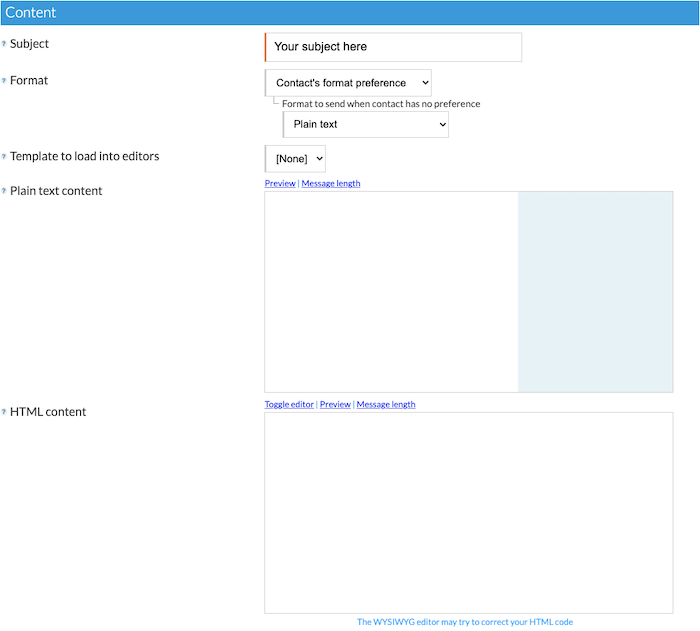
- Subject – enter the message subject line.
- Format – choose the format of the message to be sent. Your options are:
— Plain text – Send only the plain text version of the follow-up message. You need to enter plain text copy in the Plain text content box.
— HTML – Send only the HTML version of the follow-up message. You need to enter HTML copy in the HTML content box.
— Multi-part (Plain text + HTML) *Recommended* – Send both the plain text and HTML versions of the follow-up message, combined into a single multi-part message. You need to enter both plain text and HTML copies. - Template to load into editors – choose a template to load into the plain text and HTML editors from your library of pre-created templates (as defined in Content / Templates). Note: You must select the template you want to use before adding in content. If you add content and select a template afterward your content will be lost as the new template will overwrite everything in the content boxes.
- Plain text content – enter the plain text copy of the follow-up message.
- HTML content – enter the HTML copy of the follow-up message. Click the Toggle Editor link for a full HTML editor.
- Add personalisation content tags (link) – clicking this will open a new window that contains all of the available standard shortcode tags that you can copy and paste into your content boxes to personalize your messages.
“Click the Toggle Editor link to use the full HTML editor. It has a full-screen button for easier editing”
Tip! Write your message out in a text app (e.g., Notepad) before adding it into the content boxes. For security reasons, some servers will automatically log you out of arpReach after a specific session length and if you have not saved your writing you will lose all of your work. This is a PHP server setting and not something that can be changed or controlled by arpReach.
Layout Section

- Add autoresponder’s header – check this box to add the autoresponder’s header before the start of the message contained in the content boxes.
- Add autoresponder’s footer – check this box to add the autoresponder’s footer after the end of the message contained in the content boxes.
Attachments Section

- Files to attach to message – check the files from the attachment library (defined in Content / Attachment Library) that you want to attach to the follow-up message. See Adding an Attachment to a message for additional help if required.
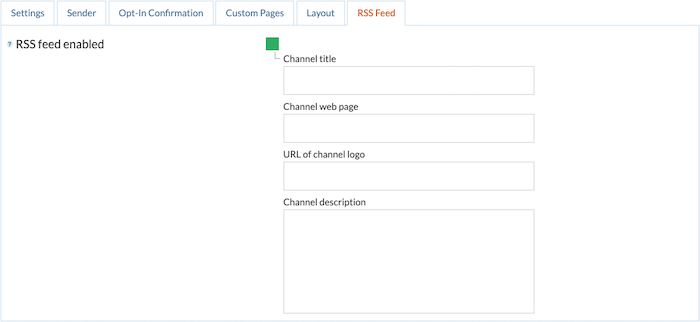
RSS Feed Tab

- Include in autoresponder’s RSS feed – check this box to include this message in the RSS feed for this autoresponder. Using this facility, you can control which of the autoresponder’s messages appear in the RSS feed and which are sent by email only.
Once you have added your first message, you will be taken back to the Follow-Up Messages list screen.