Contact tags and categories are the backbone of your contact segmenting capabilities. The better you understand the needs of your contacts, the better your results will be.
By associating your contacts with tags and categories, it will be easier for you to create highly targeted segments which will allow you to send focused messages to the right people at the right time.
In this section, we look at and detail the three main segmentation options available to you within arpReach.
Contact Tags
A contact tag is a function that allows you to collect and store a piece of information or data about your contact. It is totally up to you what that information is. Using tags allows you to filter your whole contacts list down to one or more contacts that have one or more specific tags so that you can send specific messages to contacts with a specific interest.
Examples: You can create contact tags to identify things such as:
- Product purchases
- Contact interests
- Contact likes or dislikes
You can create and use unlimited contact tags.
Tip! When deciding the names for your tags, keep them simple and always follow the same naming convention so you can easily locate and use them in other functions (e.g. likesCats, likesDogs, interestSocialMedia, interestSEO, interestEmailMarketing, etc.).
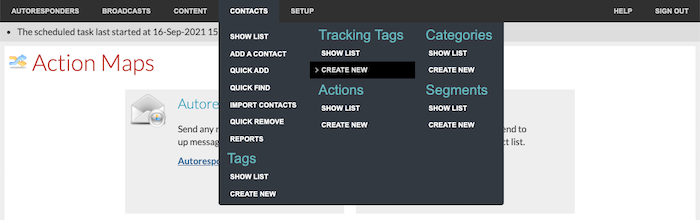
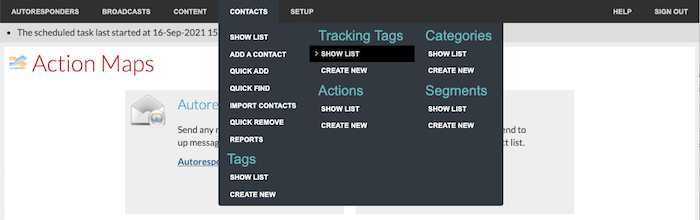
To create a new contact tag, go to Contacts / Tags / Create New:
Contact tags are very easy to manage because they only have two settings — name and description. For any contact tag, both of these settings can be changed at any time without affecting which contacts the tag is assigned to.
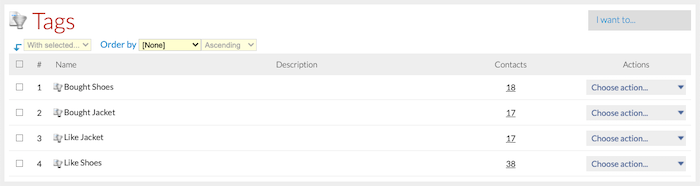
To manage your existing contact tags, go to Contacts / Tags / Show List:
The Tags list screen shows the number of contacts with the tag and you can click the number to view those contacts.
Contact Categories
Contact categories are essentially the same as contact tags, but arpReach has both to give you greater flexibility.
By having both, you could chose tags to store the interests of your contacts and categories to store types of contacts such as Customers and Prospects. Again, the choice is up to you.
You can also create and use unlimited categories.
Examples: You can create contact categories to identify things such as:
- Customers
- Prospects
- Gender
- Location
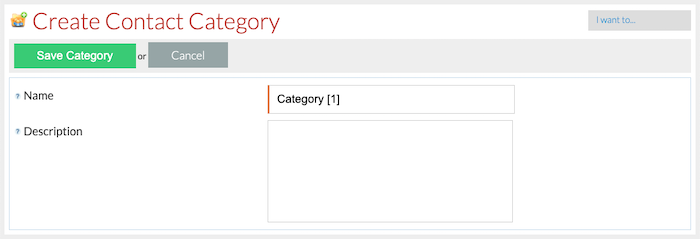
To create a new contact category, go to Contacts / Categories / Create New:

Categories are very easy to manage because they only have two settings — name and description. For any category, both of these settings can be changed at any time without affecting which contacts the category is assigned to.
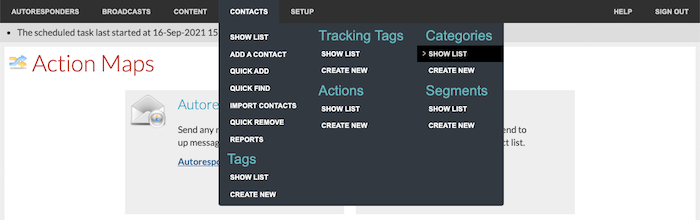
To manage your existing contact categories, go to Contacts / Categories / Show List:
The Categories list screen shows the number of contacts in the category and you can click the number to view those contacts.

Tracking Tags
“Use tracking tags to monitor the success of your subscription forms and websites”
Tracking tags are used with the subscription forms that you place on your websites. They allow you to track which forms and/or websites generate subscriptions. Using this facility, you can see which of your forms and/or websites are performing best because you can segment your list by tracking tag on success criteria such as the open rate of your messages.
Another important function of tracking tags is to allow you to display custom pages to your contacts when they perform actions such as subscribing, unsubscribing, or confirming a subscription. You can set the URLs of the pages you wish to be displayed to your contacts for each action under the Custom Pages tab when creating or editing a tracking tag.
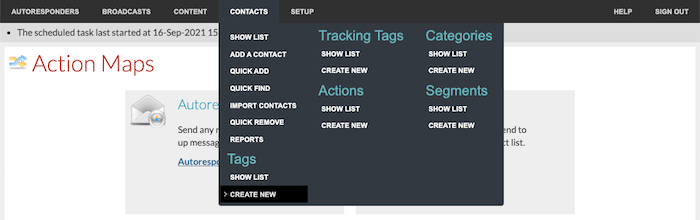
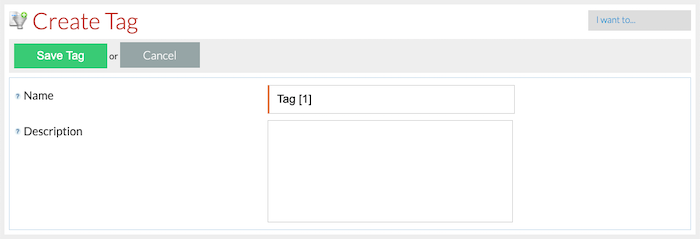
To create a new tracking tag, go to Contacts / Tracking Tags / Create New:
Settings Tab
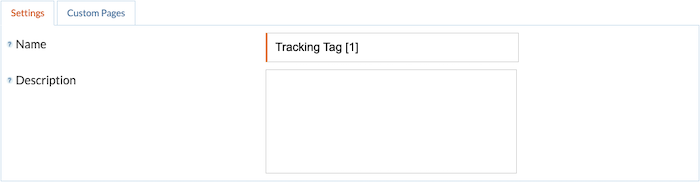
- Name – the name of the tracking tag. Every tracking tag has its own unique name for easy management.
- Description – a description for the tracking tag. This is never displayed to contacts.
Custom Pages Tab
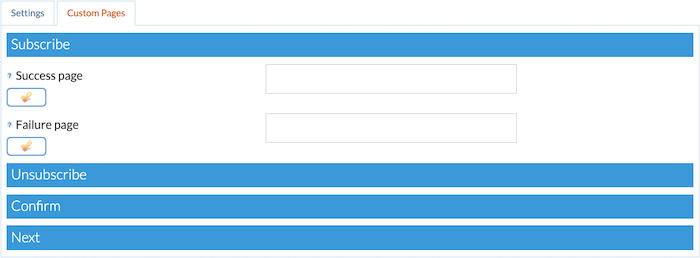
Subscribe Section
- Subscribe success page – the page to be displayed when the contact successfully subscribes.
- Subscribe failure page – the page to be displayed if there is an error when the contact submits the subscription form. For example, if the email address is not valid or the subscription is a duplicate.
Unsubscribe Section
- Unsubscribe success page – the page to be displayed when the contact successfully unsubscribes by clicking an unsubscribe link in a message.
- Unsubscribe failure page – the page to be displayed when there is an error when the contact clicks an unsubscribe link in a message. For example, if the contact has already unsubscribed.
Confirm Section
- Confirm success page – the page to be displayed when the contact successfully confirms their subscription by clicking a confirm link in a message.
- Confirm failure page – the page to be displayed when there is an error when the contact clicks a confirm link in a message. For example, if their subscription is already confirmed or if the autoresponder no longer exists.
Next Section
- Next success page – the page to be displayed when the contact successfully requests to be sent the next message in a subscription by clicking the next message link in a message.
- Next failure page – the page to be displayed when there is an error when the contact clicks the next message link in a message. For example, if there are no more messages in the sequence or if the autoresponder no longer exists.
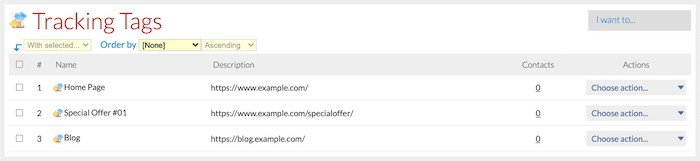
To manage your existing tracking tags, go to Contacts / Tracking Tags / Show List:
The Tracking Tags list screen shows the number of contacts who have each tracking tag assigned to one or more of their subscriptions. Clicking the number shows those contacts.