This guide goes through the process of installing #V2 or arpReach on a standard cPanel hosting. Examples include HostGator, Liquid Web, Just Host, and thousands of others.
In this section:
- Setting up your database
- Getting ready to install #V2 or arpReach
- Upload the files
- Run the installation wizard
- Run #V2 or arpReach for the first time
- Activate arpReach or #V2
- Create the scheduled task
- Handling the incoming email task
Setting up your database
#V2|arpReach requires one MySQL database which you will need to create manually using the method supplied by your web hosting provider.
Make a note of the following settings of the new database in a text document which you will reference in a later part of the installation process:
- host
- database name
- username
- password
Useful links
Creating and selecting a database using the command line
Creating a database using cPanel
Creating a database using DirectAdmin
Getting ready to install #V2 or arpReach
Log in to the #V2 Hub or the arpReach Hub using the License Number and License Password provided in your order email.
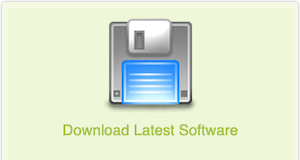
To download the latest zipped release version of #V2|arpReach and save it on your computer, click the Download Latest Software icon.
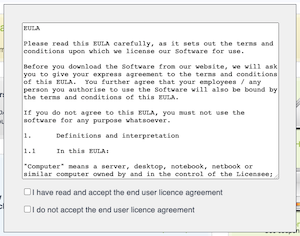
Read and accept the usage terms.
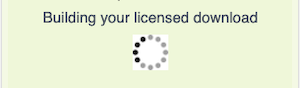
The system will then build your download and then present an OK button.
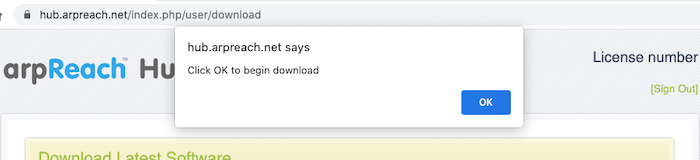
Click the OK button to begin your download and save the ZIP file on your computer.
Unzip the ZIP file you downloaded, preserving the directory structure. (See useful resources below for software if required.)
Open the file config.inc.php. (Important Note: You MUST use a text editor such as NotePad and not a word processor like MS Word.)
Enter the config settings shown and save the file. The database settings are those you used when creating the MySQL database.
Now, rename the file to config.php.
Useful resources
7-Zip – An open-source utility for manipulating archives. Formats 7z, ZIP, GZIP, BZIP2 and TAR are supported fully, other formats can be unpacked.
Keka – A free Mac utility for manipulating archive files. Extraction formats supported: RAR, 7z, LZMA, XZ, ZIP, TAR, GZIP, BZIP2, ISO, EXE, CAB, PAX, ACE (PPC).
Upload the files
On your website, create a directory where you want to install the software. Alternatively, create a subdomain.
For example:
example.com/<dir>
… where <dir> is the directory you create for the software to be installed.
If you opt to create a subdomain, the format will be:
<sd>.example.com
… where <sd> is the subdomain you create.
Using FTP software, upload the contents of the unzipped installation package on your computer to the directory you created on your website.
Important Note: Files must be uploaded in BINARY MODE.
The following directories need to be writable (Linux chmod 777) by the web process. Use your FTP software to set this.
- schedule_logs
- schedule_errors
- temp
Useful resources:
FileZilla – FileZilla is an open-source FTP (File Transfer Protocol) software distributed free of charge under the terms of the GNU General Public License.
Run the installation wizard
On your browser, run the installation wizard using:
example.com/<dir>/install/index.php
… where <dir> is the directory you created for the software.
If you opted to create a subdomain, the format will be:
<sd>.example.com/install/index.php
… where <sd> is the subdomain you created.
The installation wizard will step you through the process. Any errors will be explained and solutions suggested.
As a security measure, delete the install directory and all of the files in it once you have completed installing #V2 or arpReach.
Run the software
When the installation is complete, you can run the software for the first time by visiting:
example.com/<dir>/a.php
… or:
<sd>.example.com/a.php
Running the software for the first time creates a new administrator whose login details are:
- Username: admin
- Password: 12345
Once logged in, you will see these warning messages at the top of your screen.

You should change these initial login username and password settings as soon as you can by going to Setup / Personal Settings. There you can also set other options to personalize your session.
Activate your software
Right after logging in for the first time, you will be taken to the activation screen (Setup / Activate License).
Please refer to the full process of generating your activation code.
Enter the license number, license password, and activation code you have been given, check the box to agree to the terms of use, and click Activate Now.
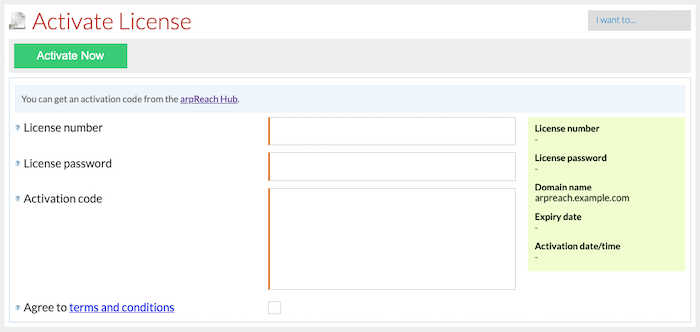
Your software is now activated.
At any time, you can obtain an activation code for your software from the #V2 Hub or arpReach Hub.
Create the scheduled task
The software requires one scheduled (cron on Linux) task to be created in your domain’s control panel. We recommend running it every 5 minutes.
The scheduled task takes care of many operations of the software, including sending due emails and managing incoming subscriptions and bounces.
Your web host can advise on how scheduled tasks should be set up on your hosting. The scheduled task should NOT be set up using wget or any other HTTP or web-based process as timeouts will be a problem.
Contact your host if you need assistance with setting up your scheduled task as servers vary widely.
It must be set up by running the script directly using the “command line” interpreter, like this:
php /path/to/public_html/<dir>/a.php cli/auto>/dev/null 2>&1
or it may look similar to this:
php-cli /path/to/public_html/<dir>/a.php cli/auto>/dev/null 2>&1
Important Note: The php on the example above will usually be php-cli on a cPanel/WHM server. You should also be aware that the command line will vary from server to server and you should ask your hosting company for and use the correct path to PHP for your server.
Handling incoming email
The software needs to be able to handle incoming emails to manage emailed subscriptions, unsubscriptions, and bounces.
The best way to handle this is to create an email account on your domain for the exclusive use of the software.
You can usually do this in your hosting control panel.
At the same time, set the “default” or “catch-all” address of your domain to forward unrouted emails to this account.
Check out the Help menu in the software for extensive support resources.
The software will monitor this account for emailed subscriptions and bounces. To set this up in the software, go to Setup / System Settings.
Go to the System tab and expand the Incoming email section.
Enter the details for the email account you created to handle incoming emails.
Now, each time the scheduled task runs, all of the emails in the email account will be read, processed, and deleted.
Installation is complete
Your #V2 or arpReach system will now be installed and ready for use.
Test mode
Test mode allows you to use all aspects of the software without any email actually being sent although the software will act as if it has sent it.
To enable test mode, go to Setup / System Settings /System and expand the Outgoing email section.