The attachment library is a central repository of files that you can attach to your messages.
By managing the files centrally, you can easily update a file without the need to edit all of the messages that have that file as an attachment.
“Centralized management of attachments means you can change them without having to change your follow-up or broadcast messages”
Managing your attachment library
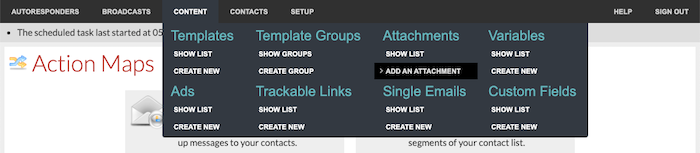
To add an attachment to your library, go to Content / Attachments / Add an Attachment.
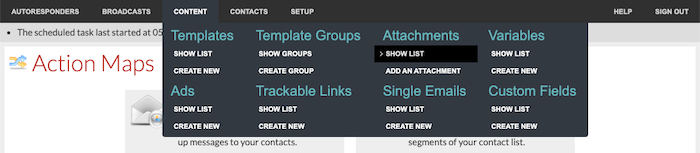
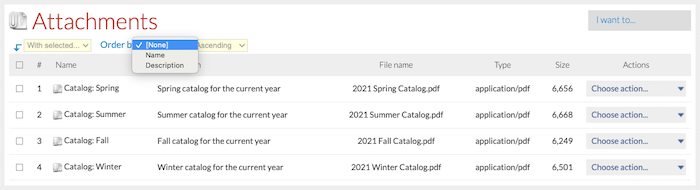
To edit an attachment, go to Content / Attachments / Show List:
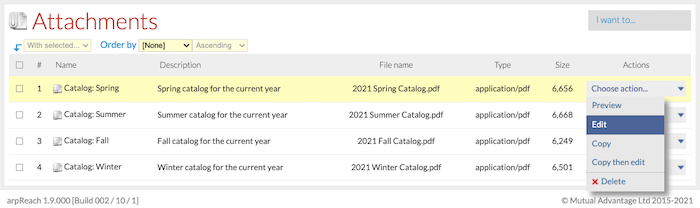
… and choose Edit from the Choose action… drop-down menu.
When adding or editing an attachment, the settings are the same.
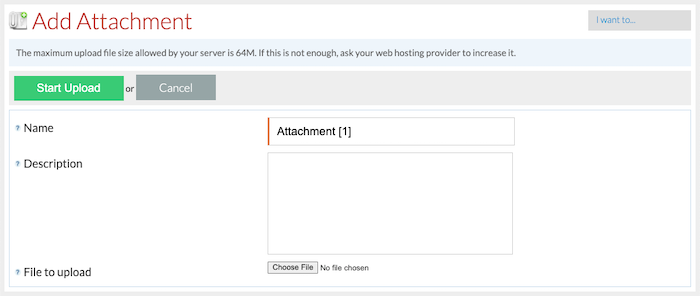
- Name – a unique name for the attachment.
- Description – a description for the attachment. This is never displayed to contacts.
- File to upload – choose the file to be uploaded from your computer and stored in the attachment library.
Note that the maximum upload file size is dependent to your web host limitations. If you need to upload a file that is larger than what is currently allowed, contact your web host and ask them to increase the limit.
Attachments can be sorted by name and description using the Order by drop-down menu.
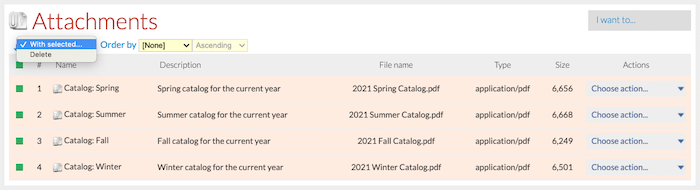
The With selected… menu allows you to delete the selected attachments. There is no need to make any changes to the messages that had those attachments.
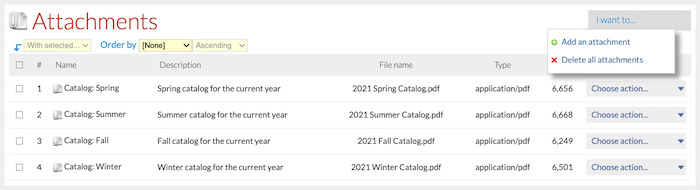
Using the I want to… drop-down menu, you can add a new attachment or delete all attachments.
Under the Actions column, the Choose action… drop-down menu has the options to:
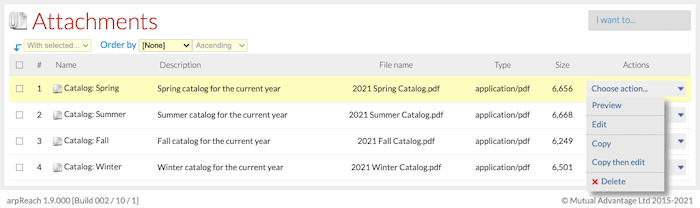
- Preview – preview the attachment in a pop-up window. Your browser needs to allow pop-ups for this to work.
- Edit – edit the attachment settings and its file content.
- Copy/Copy then edit – add a new attachment by copying the attachment’s settings and file content.
- Delete – delete the attachment.
Adding an Attachment to a Message
When creating or editing a follow-up, broadcast, and single email message, you can choose the attachment/s to be added to the message by selecting them from the attachments list.
For follow-up messages: Add or edit a message, go to the Message tab, expand the Attachments section, then check off the attachment/s to be added to the follow-up message.
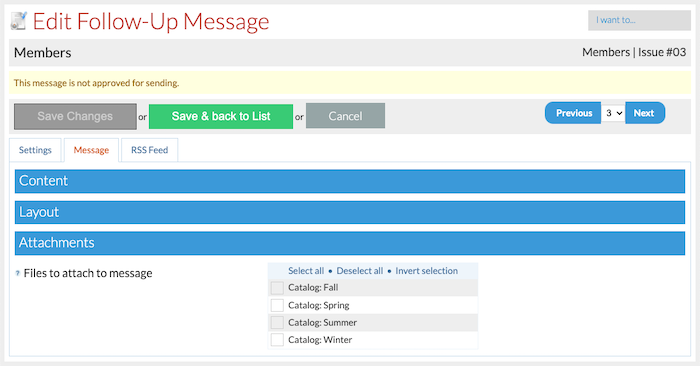
For follow-up message variants, add or edit a variant, expand the Attachments section, then check off the attachment/s to be added to the follow-up message variant.
For broadcast messages: Schedule or edit a broadcast, go to the Message tab, expand the Attachments section, then check off the attachment/s to be added to the broadcast message.
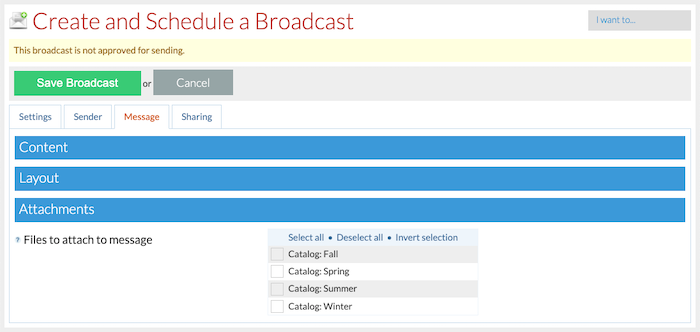
For broadcast message variants, add or edit a variant, expand the Attachments section, then check off the attachment/s to be added to the broadcast message variant.
“Both broadcast and follow-up message variants can have different files attached”
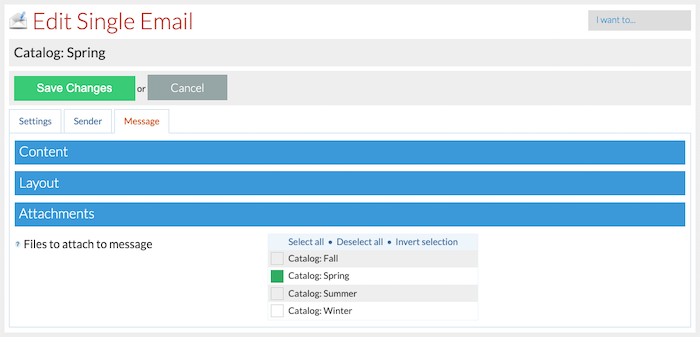
For single emails: Create or edit a single email, go to the Message tab, expand the Attachments section, then check off the attachment/s to be added to the single email.