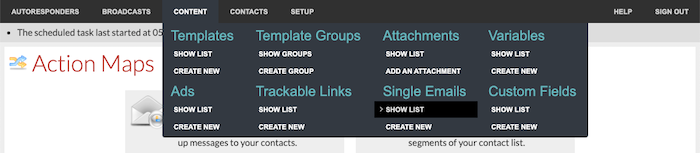
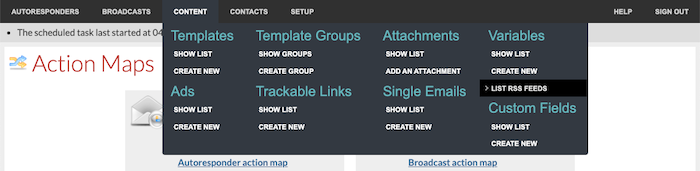
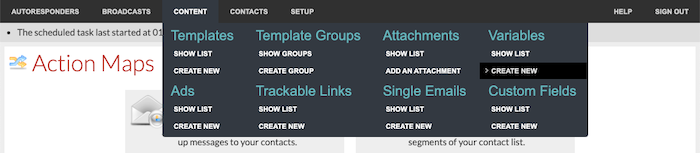
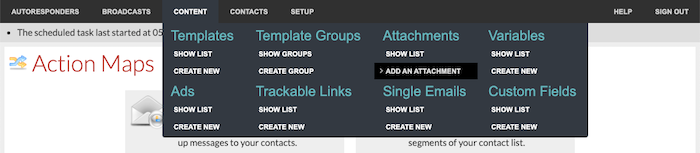
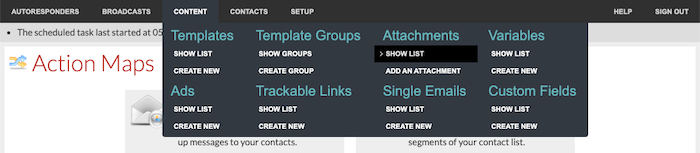
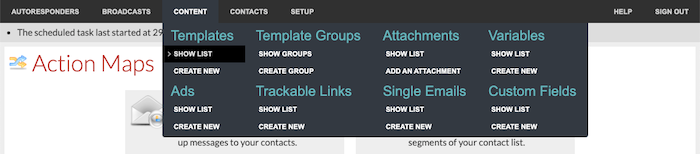
Within the Content menu, there are two sub-menus relating to templates: Templates and Template Groups.

Templates
A template can be a framework or it can be used to create and store re-usable blocks of content that you can easily pull into follow-up and broadcast messages. Each template has a unique name, a description for your use, plain text content, HTML content, and an optional template group.
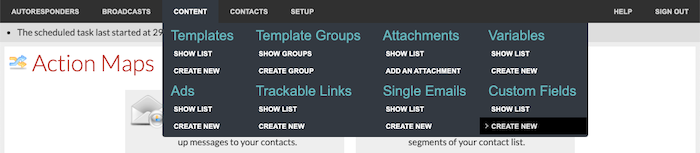
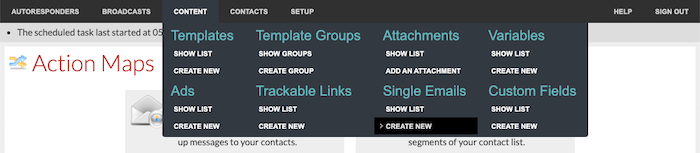
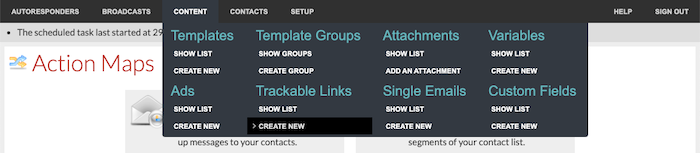
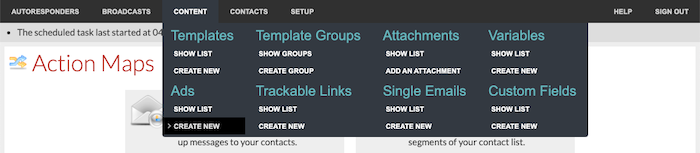
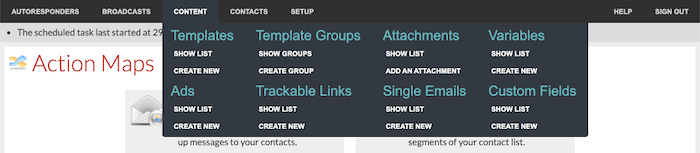
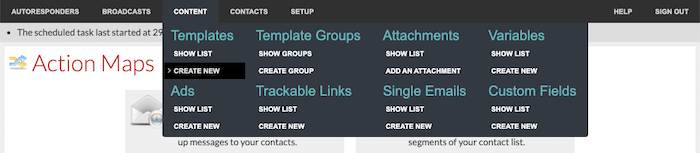
To create a template, go to Content / Templates / Create New.
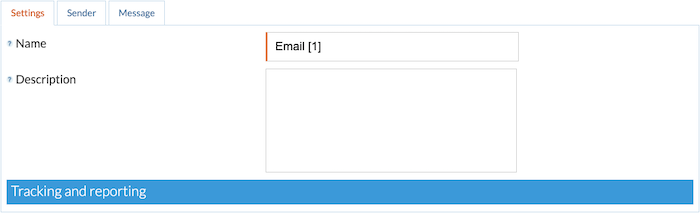
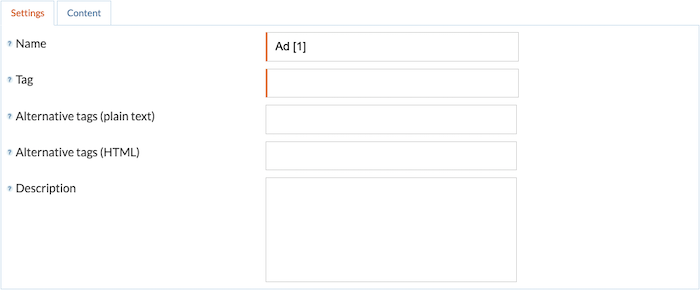
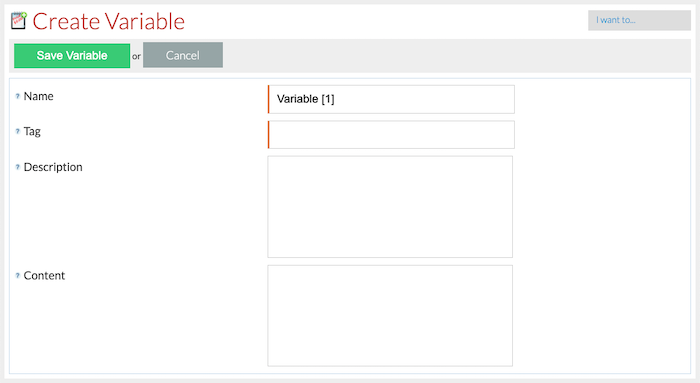
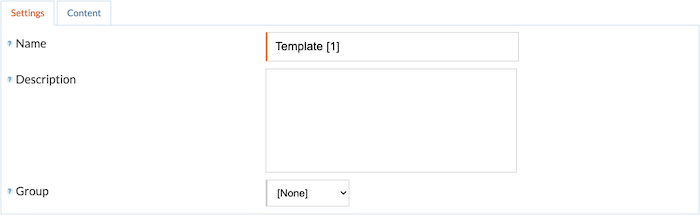
The Settings tab allows you to set the name, description, and the group that you want the template to belong to.
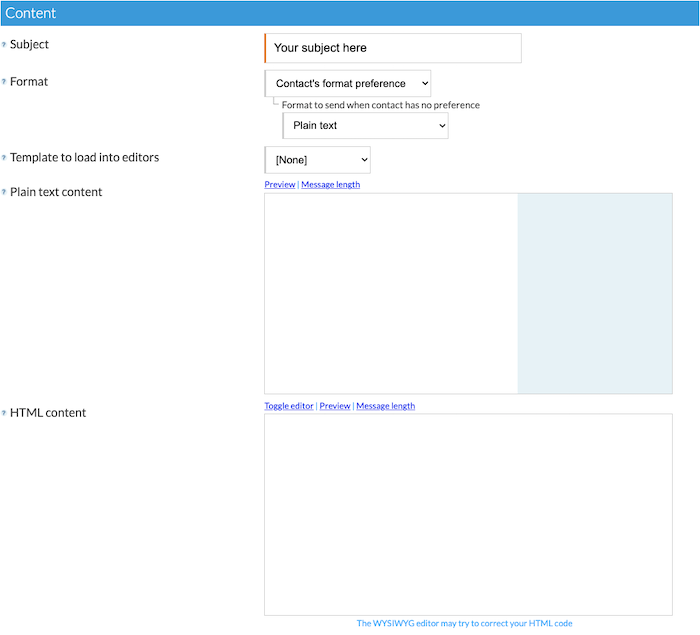
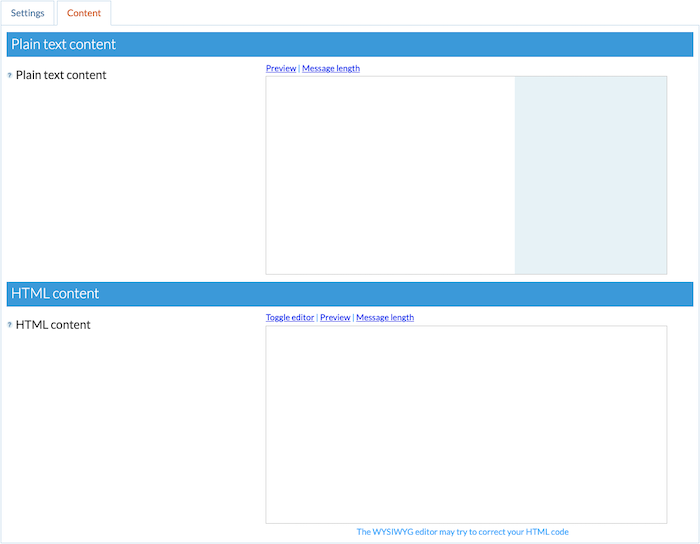
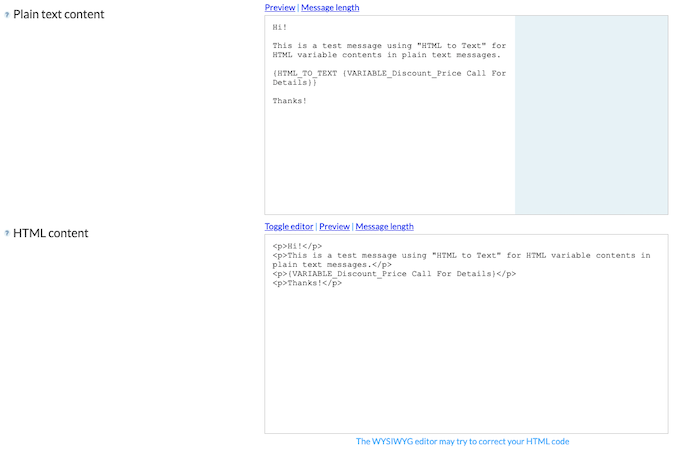
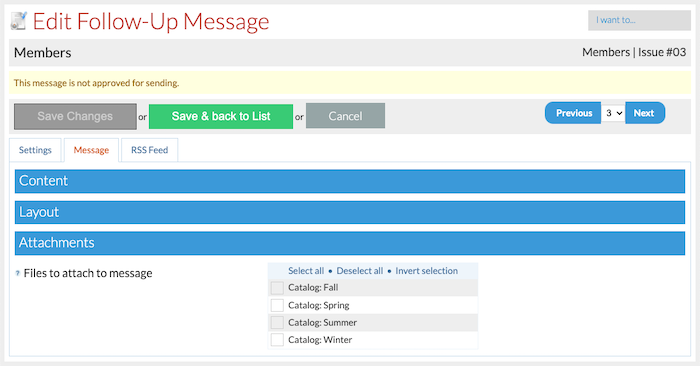
The Content tab allows you to enter the text and HTML versions of the template. You can preview your template content in both sections by clicking their respective Preview links.
“Make sure your browser has pop-ups enabled for all arpReach preview features to work”

#V2-exclusive: As a #V2 user you only need to create your template in the HMTL content box. This is because #V2 automatically converts HTML content (including links) into Text and then automatically populates the Plain text content box.
This saves you time and ensures that when you send Multi-part emails (text and HTML combined) the content of both message types is exactly the same which helps reduce the risk of your content being mis-diagnosed as spam.
Very Important Note: When you update or change the HTML content box you MUST delete the existing content in the plain content box before saving. This will ensure that the plain text content gets updated with the new HTML content.
If you don’t delete the plain text content before saving the HTML changes your plain text version will be different to the HTML content which will likely cause delivery problems.
For the HTML content, the box opens in “HTML mode” which means you need to paste or create your content in HTML. Click the Toggle editor link for a comprehensive visual WYSIWYG editor.
Important Note: The WYSIWYG editor will strip some HTML tags from your template such as the HTML that appears in the <head> of a message. Templates should contain only the body HTML and copy that you want to appear in the body of your messages. Headers and footers are created under a different menu option, and we explain how to create and use your templates in the relevant Autoresponder and Broadcast sections.
arpReach Tip! We recommend that you create your template in HTML first. Then, with the WYSIWYG editor selected, copy the entire text inside the HTML content box and paste it in the Plain text content box.

This ensures that you have the exact same words in both the plain text and HTML versions of the template, and will help ensure that your template does not trigger any spam filters due to different word content.

#V2-exclusive: As a #V2 user you only need to create your template in the HMTL content box.  This is because #V2 automatically converts HTML content (including links) into Text and then automatically populates the Plain text content box.

This saves you time and ensures that when you send Multi-part emails (text and HTML combined) the content of both message types is exactly the same which helps reduce the risk of your content being mis-diagnosed as spam.

Very Important Note: When you update or change the HTML content box you MUST delete the existing content in the plain content box before saving.  This will ensure that the plain text content gets updated with the new HTML content.
If you don't delete the plain text content before saving the HTML changes your plain text version will be different to the HTML content which will likely cause delivery problems.
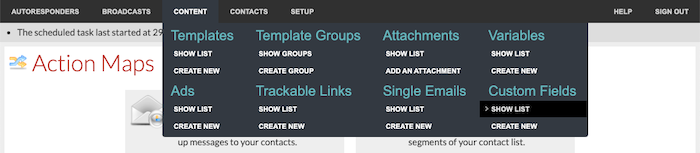
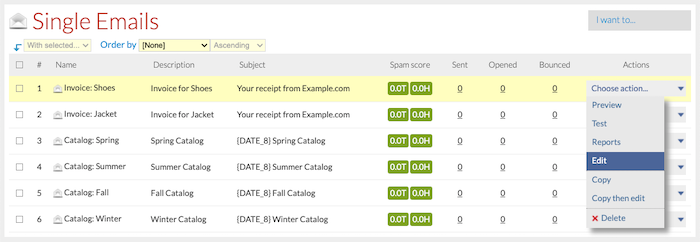
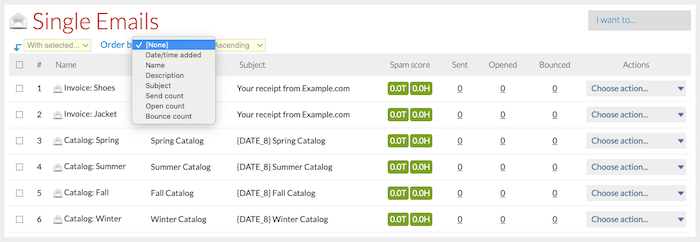
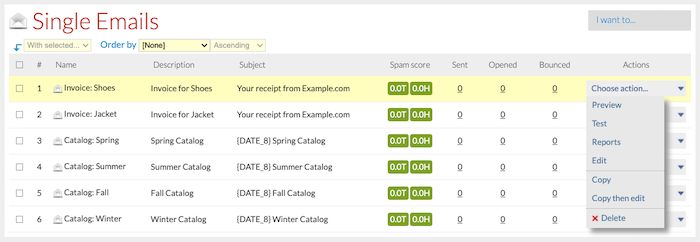
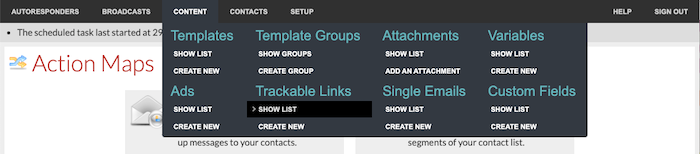
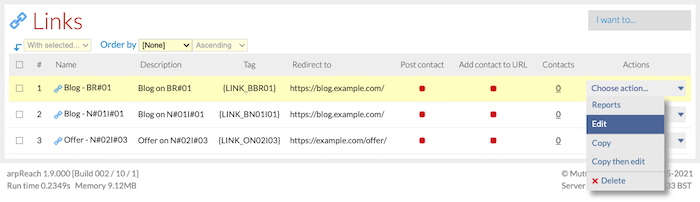
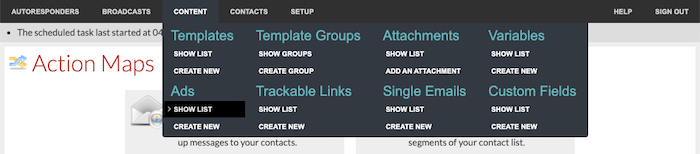
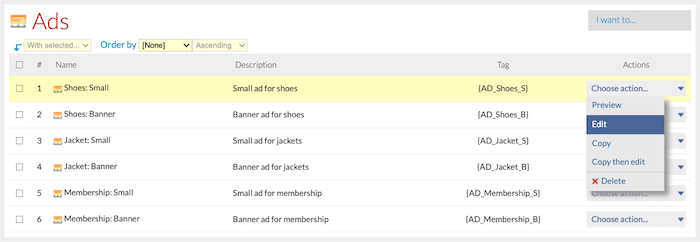
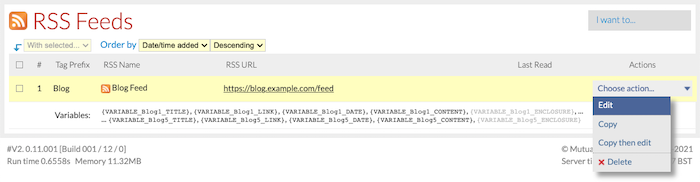
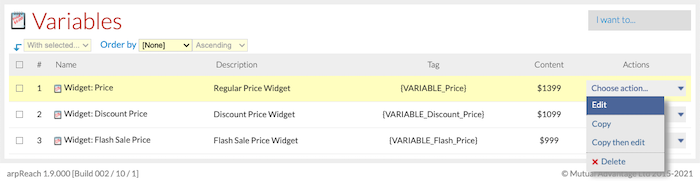
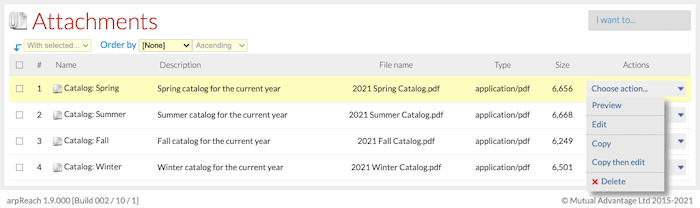
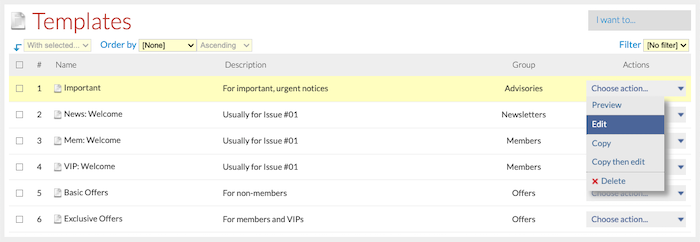
To edit your templates, go to Content / Templates / Show List:
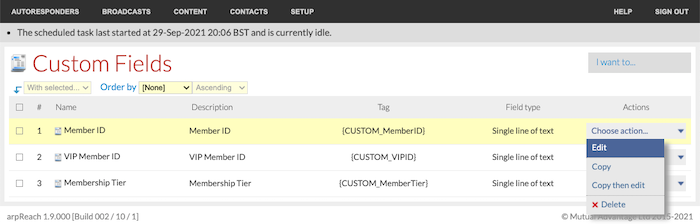
… and choose Edit from the Choose action… drop-down menu.
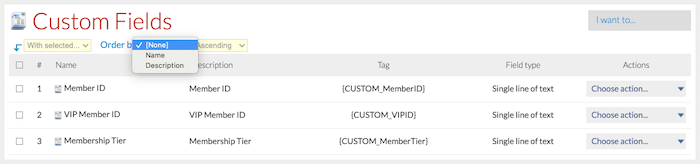
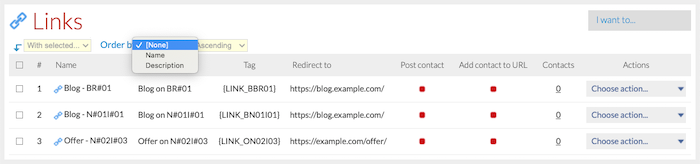
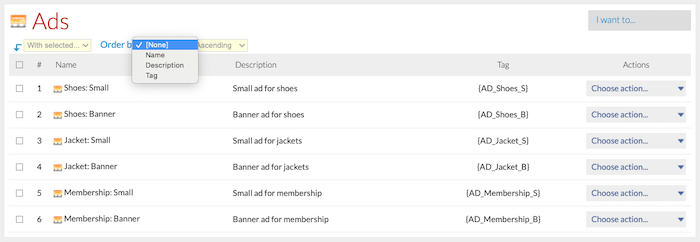
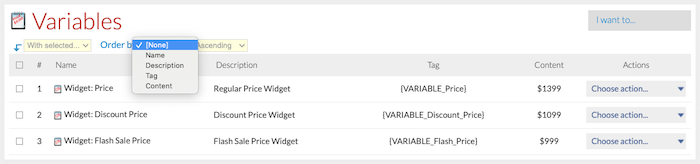
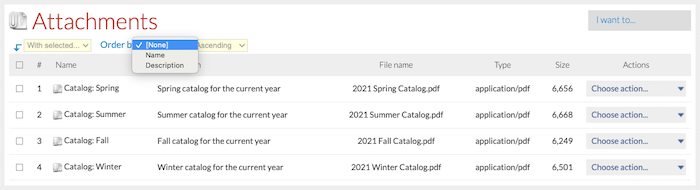
Templates can be sorted by name, description, or group name using the Order by drop-down menu.
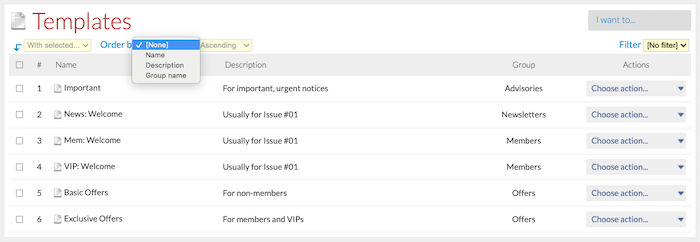
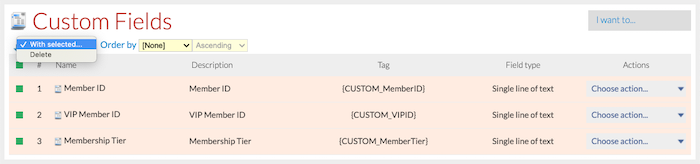
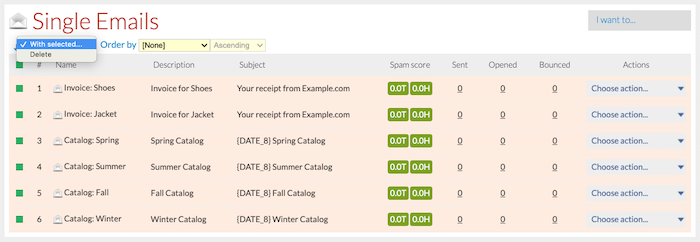
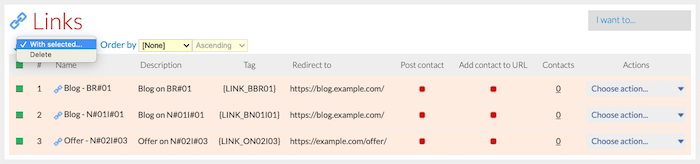
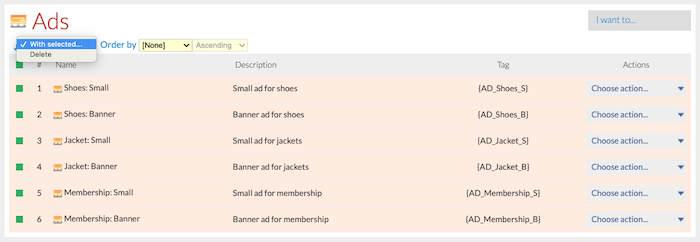
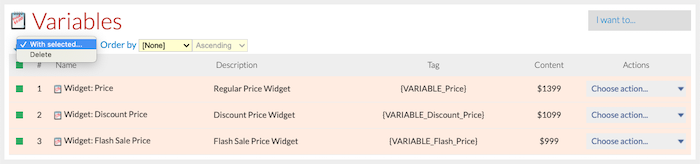
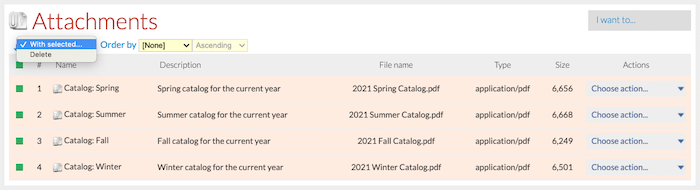
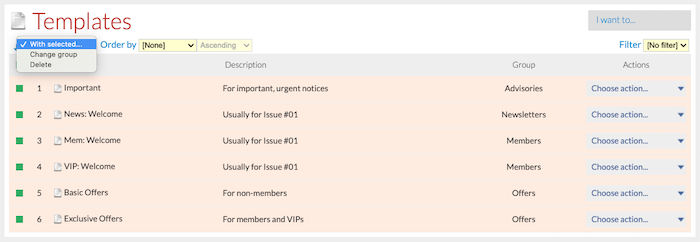
The With selected… menu allows you to change the group of or delete the selected templates.
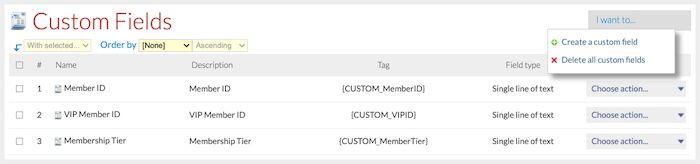
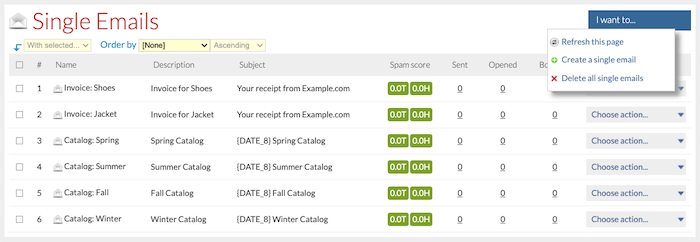
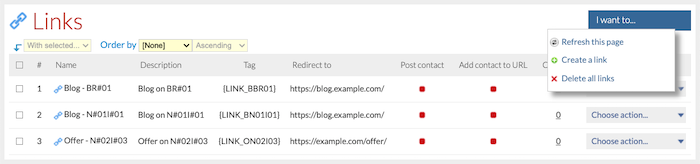
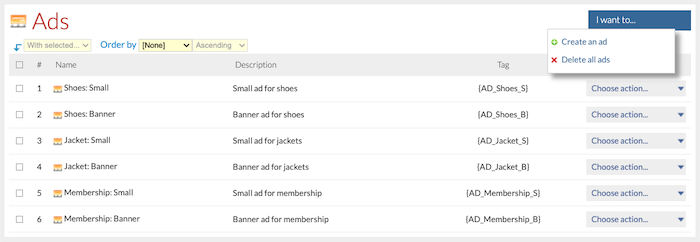
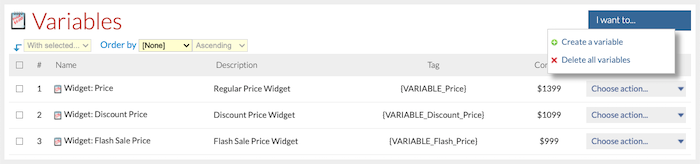
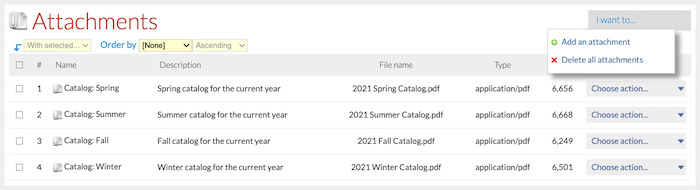
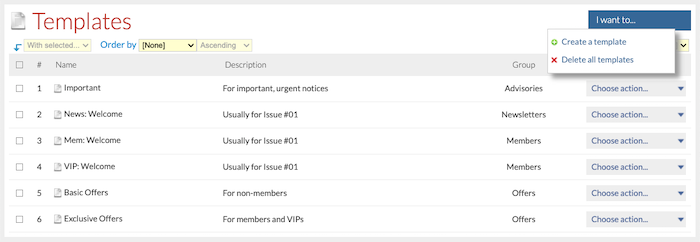
Using the I want to… drop-down menu, you can create a new template or delete all templates.
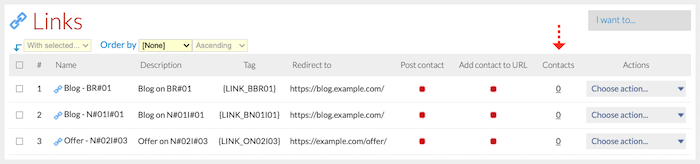
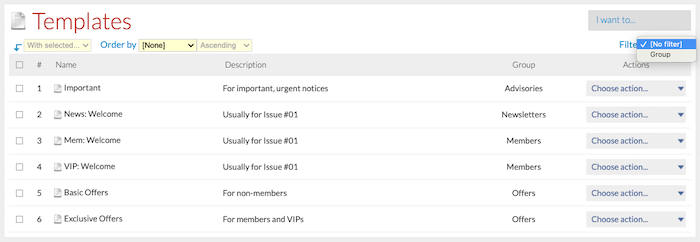
You can also filter the templates list by group using the Filter drop-down menu.
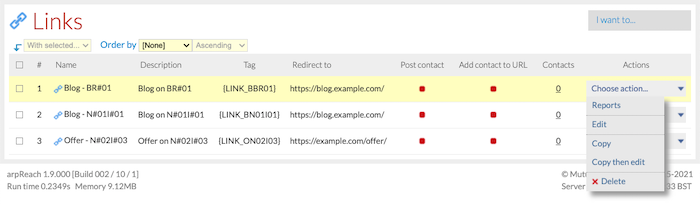
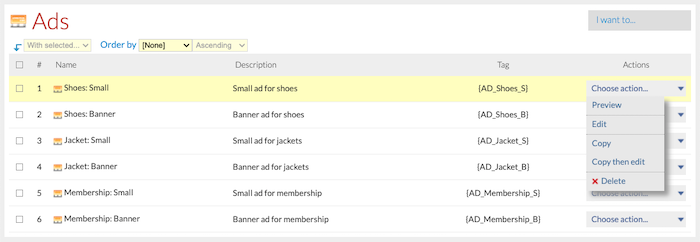
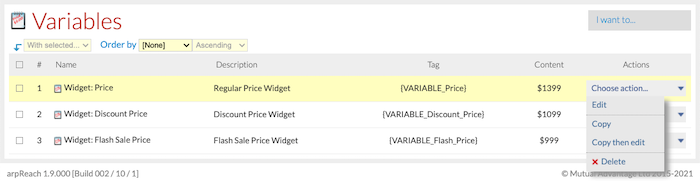
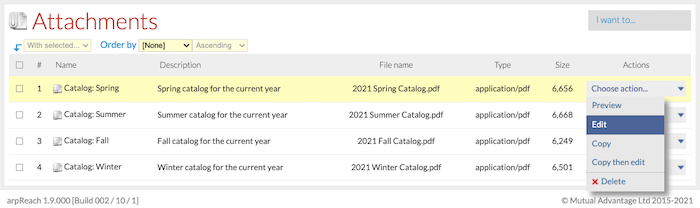
Under the Actions column, the Choose action… drop-down menu has options to:
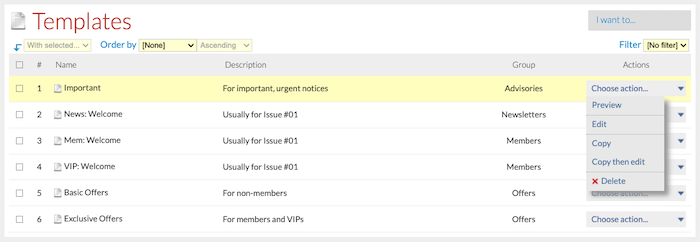
- Preview (pop-ups must be allowed)
- Edit
- Copy
- Copy then edit
- Delete
Template Groups
Template groups allow you to more easily manage your templates. Each template group can contain any number of templates and you can move templates from group to group at any time. If you are planning to have or use lots of templates, we recommend you use groups to make it easy for you to find what you want to work with.
“Create groups for your templates for ease of management”
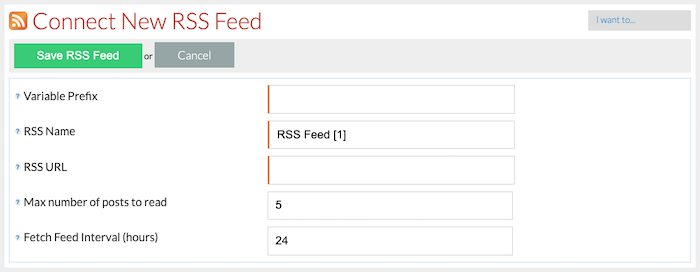
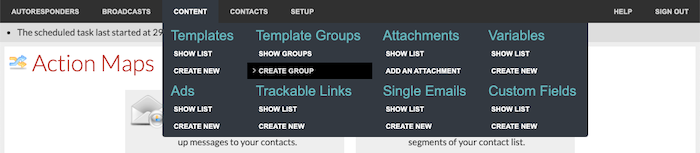
To create a template group, go to Content / Template Groups / Create Group.
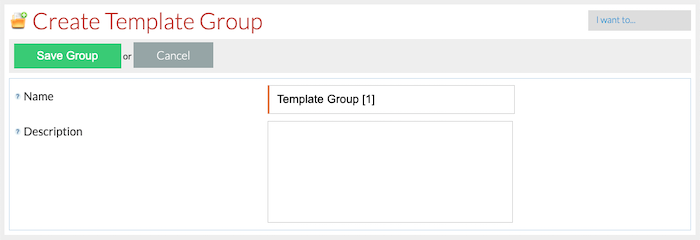
A template group simply has a name and a description.
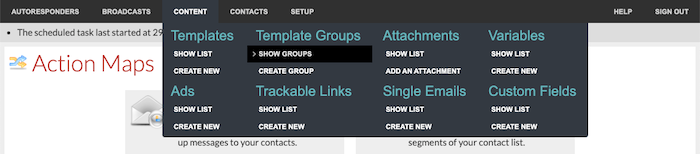
To edit your template groups, go to Content / Template Groups / Show Groups:
… and choose Edit from the Choose action… menu.
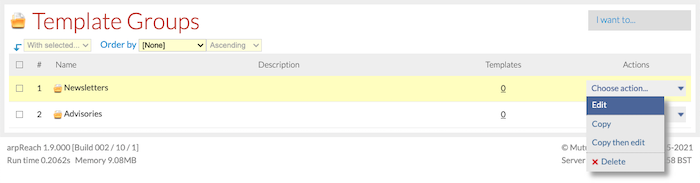
Template groups can be sorted by name, description, or template count using the Order by drop-down menu.

The With selected… menu allows you to delete the selected groups. Note that deleting a template group does not delete the templates in the group.

With the I want to… drop-down menu, you can create a new group or delete all groups. This does not delete the templates in those groups.

Under the Actions column, the Choose action… drop-down menu has the options to:
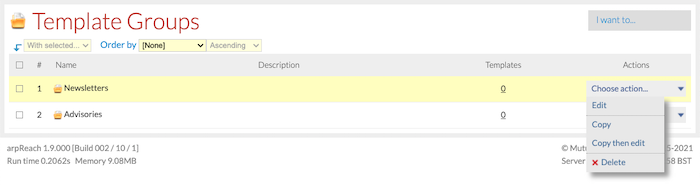
- Edit
- Copy
- Copy then edit
- Delete (Templates in the group are not deleted)