You can create as many subscription forms for each autoresponder as you need. Many form settings are held within arpReach instead of in fields in the HTML of the form. This allows you greater central control of forms, meaning you can change form settings without having to alter the form’s HTML on your websites.
“Many form settings are held within arpReach instead of the HTML of the form code to allow easier changes without editing code”
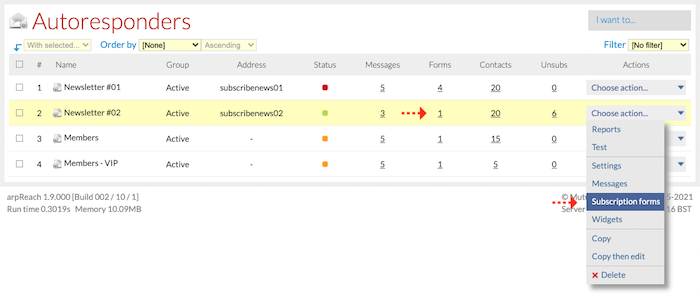
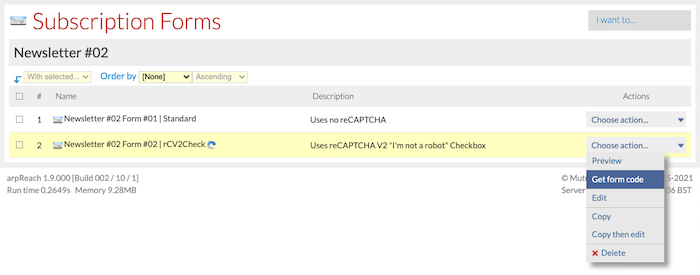
To manage an autoresponder’s subscription forms, go to the Autoresponders list screen and choose Subscription forms from the Choose action… drop-down menu or click the number in the Forms column.
Once you have done so, this screen will appear:
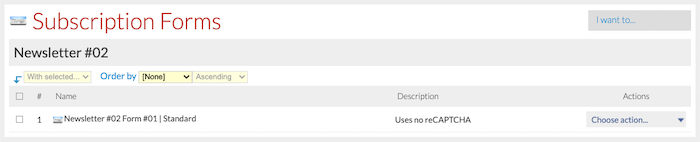
Note that live forms must remain on the list. Do not delete forms that are currently accepting subscribers as they will become inoperable.
Creating / Editing a Subscription Form
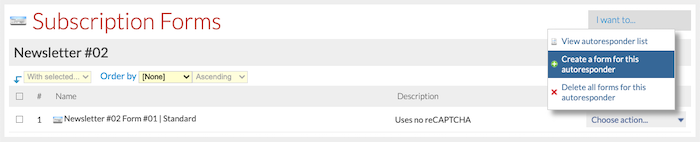
You can create a new subscription form by choosing Create a form for this autoresponder from the I want to… menu on the Subscription Forms list screen.
The options are the same for both creating a new form and editing an existing form.
Settings Tab
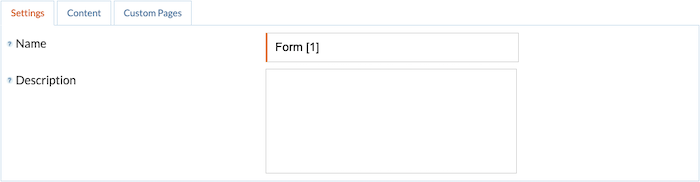
- Name – enter a unique name for the form.
- Description – enter a description for form.
Content Tab
This is where you define the content of the form and the way it operates.
Fields Section
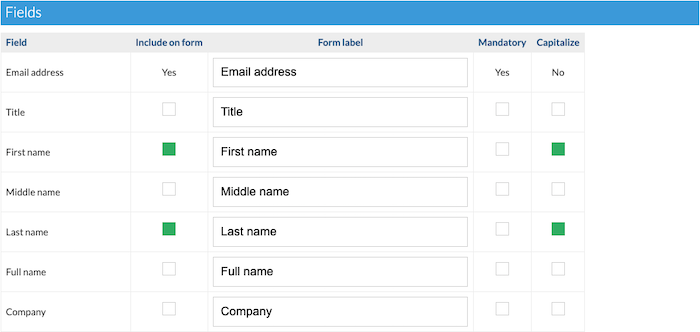
For every field you want to include on the form, check the box in the Include on form column. Enter a label for each field you have chosen. Check the Mandatory and Capitalize columns if required.
Custom fields that you have defined in Content / Custom Fields will also appear in the field list and can be included on the form.
Additional Autoresponders Section
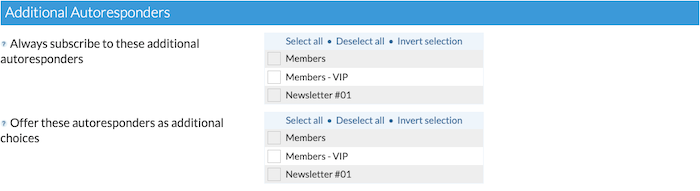
Here you can specify other autoresponders that this form will add a subscription to when a contact complete the form.
- Always subscribe to these autoresponders – check this box to add the contact to these autoresponders invisibly.
- Offer these autoresponders as additional choices – the form contains checkboxes to allow the contact to choose additional autoresponders that they wish to be subscribed to when they submit the form.
- Use multi-autoresponders confirmation (#V2-exclusive) – check this box to send a single confirmation request email when the form includes additional autoresponders instead of sending a separate confirmation request for each autoresponder.
“Use captcha to ensure your forms are submitted by people and not by machines”
Tracking Section
- Tracking tag to assign – choose a tracking tag from those defined in Contacts / Tracking Tags to be assigned to the form. When a contact completes the form, that tracking tag will be assigned to any subscriptions created by the form. Tracking tags are designed to allow you to monitor which forms are producing most subscriptions.
Display Options Section
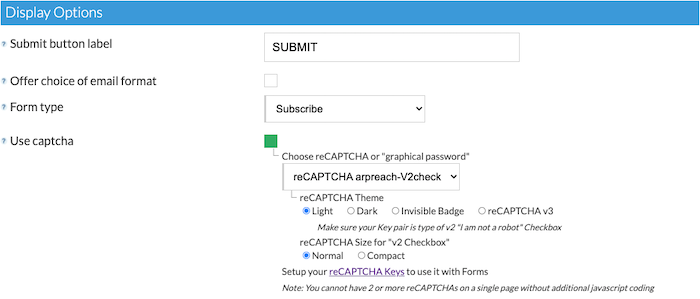
- Submit button label – enter text for the submit button.
- Offer choice of email format – check this box if you wish to offer the new contact the choice of plain text and HTML email formats.
- Form type – choose if this form will be used for subscriptions or unsubscriptions or whether the contact should be offered the choice as they are completing the form.
- Use captcha – check this box to use Google reCAPTCHA on your form. This ensures that it is a human being completing the form and not a machine. reCAPTCHA V2 Checkbox, reCAPTCHA V2 Invisible Badge, and reCAPTCHA V3 are all supported.
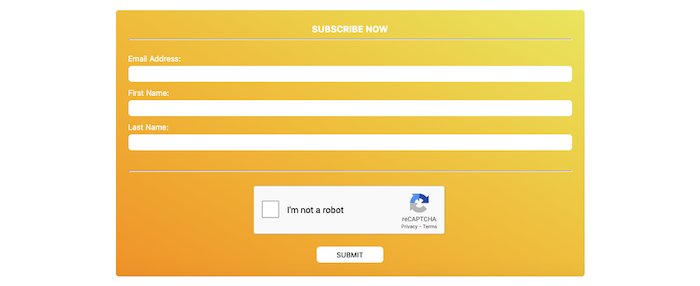
The image above is an example of an arpReach subscription form with the reCAPTCHA V2 Checkbox (styled and formatted using an HTML editor).
Custom Pages Tab
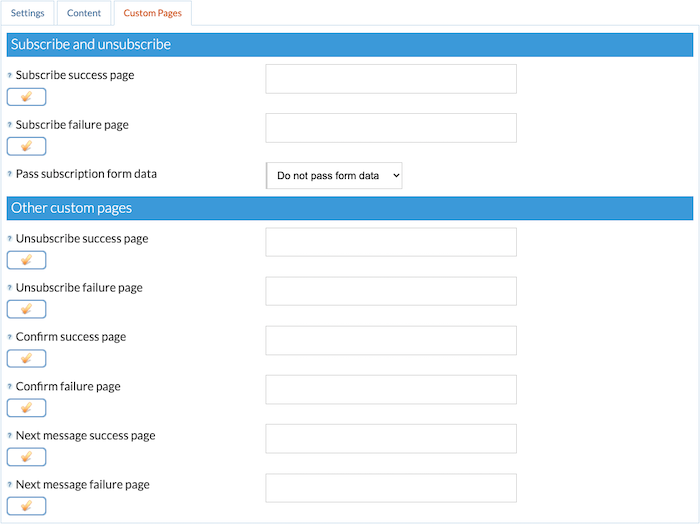
Custom pages are displayed to your contacts when they perform one of eight actions:
- Subscribe successfully
- Fail to subscribe successfully
- Unsubscribe successfully
- Fail to unsubscribe successfully
- Confirm a subscription successfully
- Fail to confirm a subscription successfully
- Successfully request the next message in sequence
- Fail to successfully request the next message in sequence
The following items in arpReach have custom page settings and the software will use them in the following precedence order:
- Tracking tag custom pages
- Subscription form custom pages
- Autoresponder custom pages
- Default system pages
You can also choose the method of passing form data to the subscribe success and failure pages:
- None – No data is passed.
- Request method GET – Data is passed to the custom page as a GET request. All form fields are available in the PHP $_GET variable.
- Request method POST – Data is passed to the custom page as a POST request. All form fields are available in the PHP $_POST variable.
#V2-exclusive: Pass form data on custom unsubscribe pages
#V2 has the capability to also pass contact data on custom unsubscribe success and failure pages using the GET or POST methods.
Generating Form Code
When you have created your form, you can generate its HTML by choosing Get form code from the Choose action… drop-down menu on the Subscription Forms list screen.
Click the form code to copy it to your clipboard, then paste the code into your preferred HTML editing software for styling.
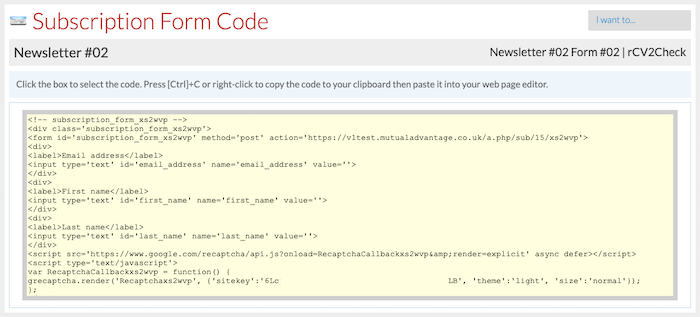
As part of the styling process, the order of the fields can be changed and this will not cause a problem.
When you have finished styling the form in your preferred HTML editing software, copy the resultant HTML code and paste it into your web page.