“You can create any number of users for your company and control their access to all areas of the system using permission profiles”
Important distinction: While you can create an unlimited number of users for your company, it is not possible to create users for a different company (e.g., a client) and protect access to individual items such as autoresponders in a way that each client would only see their autoresponder. That would be a different type of software. That being said, you can use arpReach very successfully to run email marketing campaigns on behalf of your clients. Discover more in the Permission Profiles section.
Managing Users
Managing User Permission Profiles
User Permission Use Cases
Users
You can add multiple users to your arpReach system and control the areas of the system that they can access by assigning permission profiles. A user who has Administrator status cannot be assigned a permission profile and has unrestricted access to all areas of the system.
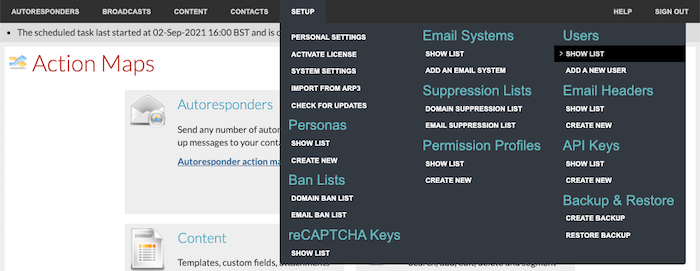
To manage your users, choose Setup / Users / Show List from the menu bar:
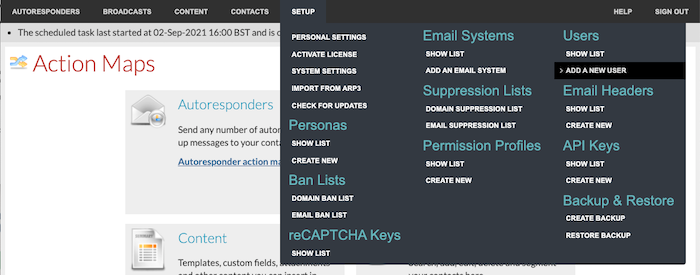
To add a new user, choose Setup / Users / Add a New User from the menu bar:
… or choose Add a user from the I Want To… menu on the Users list screen:

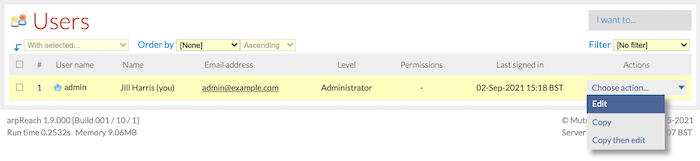
To edit an existing user, choose Edit from the actions column on the Users list screen:
When adding or editing a user, the settings are the same.
Account Settings Tab
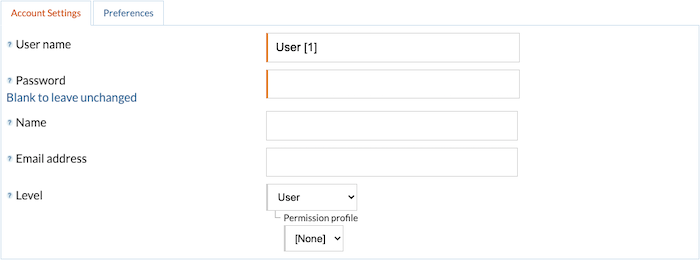
- User name – the unique username the user will enter to access the system.
- Password – the password the user will enter to access the system.
- Name – the name of the user.
- Email address – the email address of the user. This is used to send the user their username and new password if they have forgotten them.
- Level – the access level of the user.
— Administrator – has unrestricted access to all parts of the system.
— User – has restricted access to the system. The areas that can be accessed are defined by the user’s permission profile. If no permission profile is assigned, then the user has no access to any functionality within the admin system.
Preferences Tab
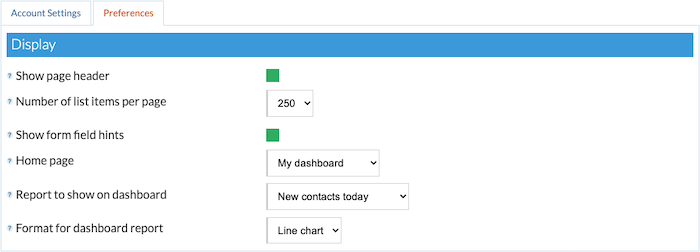
- Show page header – controls whether the page header is shown at the top of the screen when using the admin system. Switch this off to free up more screen space for data.
- Number of list items per page – controls how many items are shown per on list screens such as the contact list. A small number means faster screen drawing.
- Show form field hints – controls whether form field hint icons are shown for every field on forms. When hints are showing, hovering your mouse over the question mark will display a panel of information about that field.
- Home page – the page to be shown when the home icon is clicked or the user logs in. The choices are:
— My dashboard
— Action maps
— Autoresponder list
— Broadcast queue
— Contact list
— About screen - Report to show on dashboard – controls which graph is shown on your dashboard. The choices are:
— New contacts today
— New contacts yesterday
— New contacts this week
— New contacts last week
— New contacts this month
— New contacts last month
— New contacts this year
— New contacts last year - Format for dashboard report – sets the chart type for the dashboard report from:
— Line chart
— Bar chart
Permission Profiles
“Use permission profiles to manage the areas of the system that users can access.”
With a permission profile, you can control which areas of the arpReach admin system can be accessed by users with that permission profile.
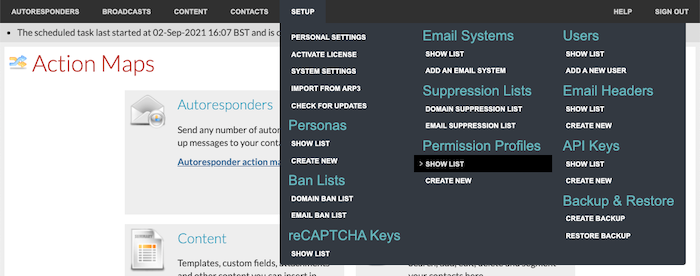
To manage your permission profiles, choose Setup / Permission Profiles / Show List from the menu bar:
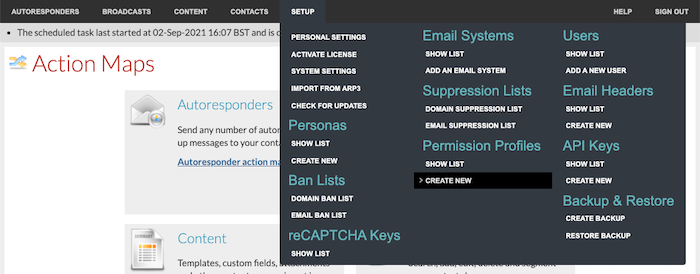
To add a new permission profile, choose Setup / Permission Profiles / Create New from the menu bar:
… or choose Create a permission profile from the I Want To… menu on the Permission Profiles list screen:

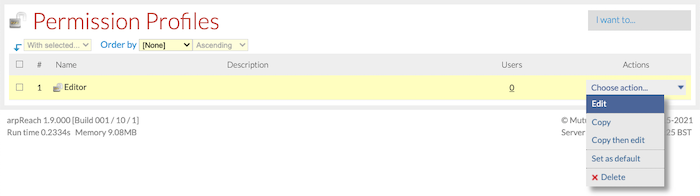
To edit an existing permission profile, choose Edit from the actions column on the Permission Profiles list screen:
When you create or edit a permission profile, the following options are available.
Settings Tab
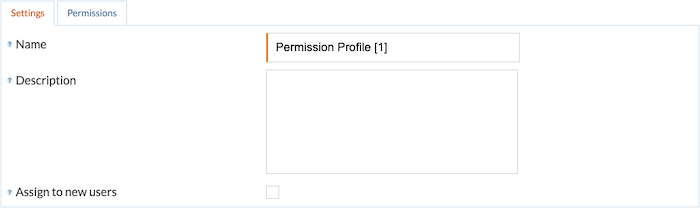
- Name – the unique name of the permission profile.
- Description – a description of the permission profile.
- Assign to new users – check this box to make this permission profile the default that is assigned to new users that you create in the future. There can only be one default permission profile.
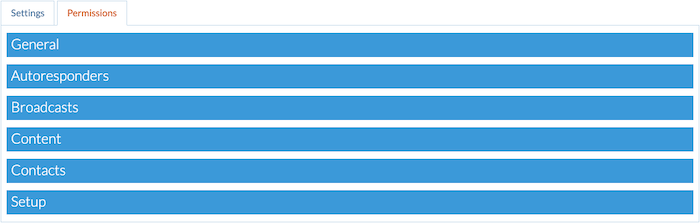
Permissions Tab
The Permissions tab has six sections where you can choose the areas of the system that users with this permission profile will be able to access:
- General
- Autoresponders
- Broadcasts
- Content
- Contacts
- Setup
Visit each section in turn and check the boxes beside the functions you wish to make available. Use the Select all, Deselect all and Invert selection links for faster selection.
If you change the permissions in an existing permission profile, those changes will be instantly applied to all users with that permission profile.
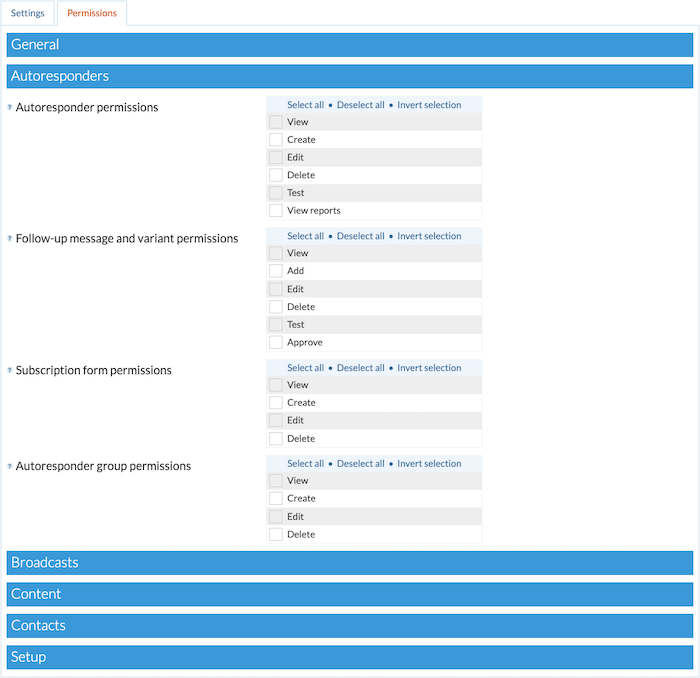
In the image above, we see the available permission control options you can apply to a user in respect of their access to Autoresponders and the associated autoresponder functions.
User Permission Use Cases
For this use case, we consider a larger business with different departments that employs writers, editors, and department managers.
A new writer: A new employee may have great writing skills, but you want to check the quality of their work. You would not want them to edit or delete existing content in other autoresponder messages, and you would not want to give them the responsibility of testing their own work or approving their own work. You could, therefore, give them View and Add permissions.

For an editor: An editor has more responsibility and has built a higher level of trust within the company. You can, therefore, give your editors all permissions with the exception of making the final approval of the email content in your campaigns.

For the owner / manager: As the business owner or responsible manager, in this scenario, you have had a writer add content, you have had your editor check the writer’s content and make suitable changes, and the editor has notified you that your message is ready for your final approval. You have the ability to make any edits or changes you want and the final approval is also yours.

In all of the permission profile options, you can consider your use case and give or deny the appropriate access depending on your need.
Tip! Always log in as the user with the permission profile you have created and check if the user has the access they need to complete their work but does not have access to the things you want protected (e.g., you should very carefully consider who you give any Setup access to).