There are two main settings options screens. They are:
- Personal Settings – where a user can set their personal choices.
- System Settings – where you set up the main system functions.
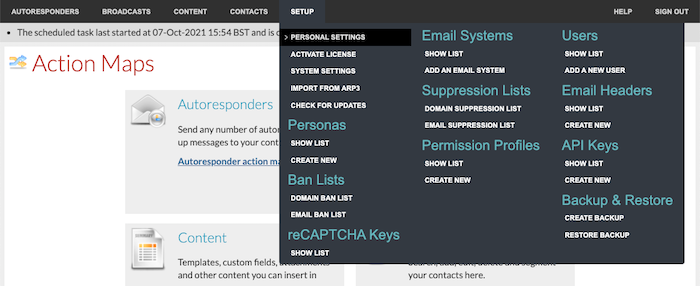
Personal Settings
Each user, including administrators, can use this option to change their personal details (such as their password and email address) and to set their display preferences.
To access it, go to Setup / Personal Settings.
Account Settings tab
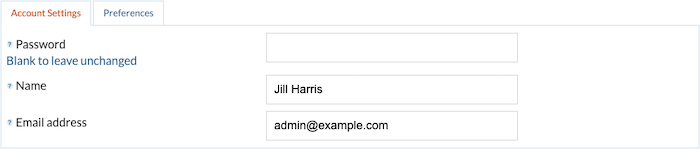
- Password – enter a new sign in password or leave it blank to remain unchanged.
- Name – your name.
- Email address – your email address to be used when you have forgotten your username and/or password.
Preferences tab
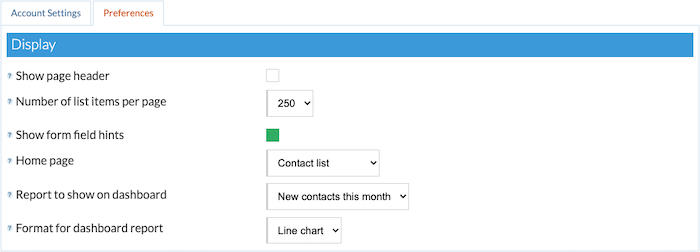
- Show page header – controls whether the page header is shown at the top of the screen when using the admin system. Switch this off to free up more screen space for data.
- Number of list items per page – controls how many items are shown per page on list screens such as the Contacts list screen. A small number means faster screen drawing.
- Show form field hints – controls whether form field hint icons are shown for every field on forms. When hints are showing, hovering your mouse over the question mark will display a panel of information about that field.
- Home page – the page to be shown when the home icon is clicked. The choices are:
— My dashboard
— Action maps
— Autoresponder list
— Broadcast queue
— Contact list
— About screen - Report to show on dashboard – controls which graph is shown on your dashboard. The choices are:
— New contacts today
— New contacts yesterday
— New contacts this week
— New contacts last week
— New contacts this month
— New contacts last month
— New contacts this year
— New contacts last year - Format for dashboard report – sets the chart type for the dashboard report from:
— Line chart
— Bar chart
System Settings
The System Settings menu is where you will find most of the options for configuring the way arpReach works.
To access it, go to Setup / System Settings.
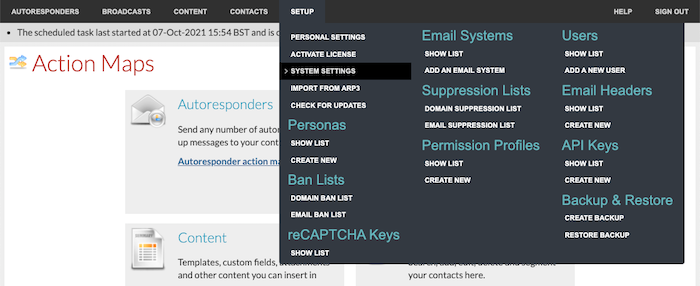
The screen is split into six tabs:
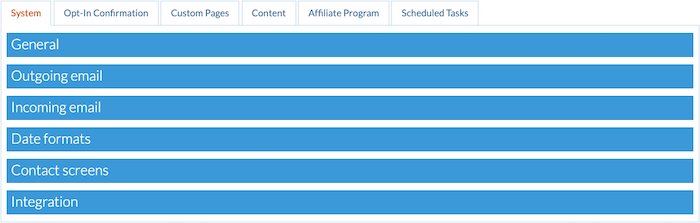
System tab
The System tab in arpReach has six sections, while #V2 has seven sections.
General section
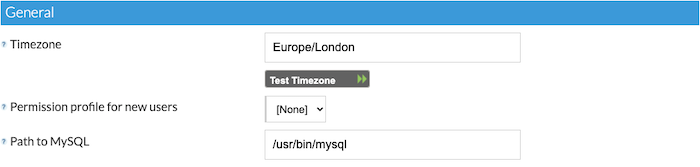
- Timezone – enter the timezone to be used for all dates and times within #V2|arpReach, including the dates and times that messages are sent. This must be a valid PHP timezone as defined here.
- Permission profile for new users – choose a default permission profile to be assigned to any new users that you create.
- Path to MySQL – to restore SQL backups files. Your web host can provide you with this information.
Outgoing email section
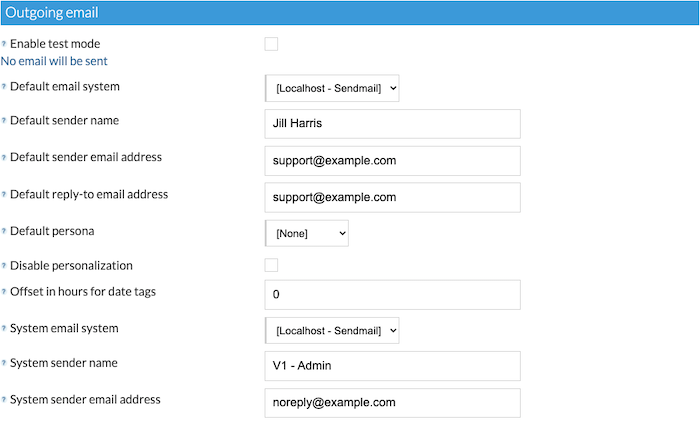
- Enable test mode – check this box to prevent any email from being sent. When in test mode, the system will behave as if emails have been sent, recording sends for each contact. Before using test mode, you may wish to take a data backup so that you can restore your dataset to the pre-test-mode state.
- Default email system – choose the email system that will be assigned to new autoresponders and broadcasts that you create.
- Default sender name – enter the sender name that will be assigned to new autoresponders and broadcasts that you create.
- Default sender email address – enter the sender email address that will be assigned to new autoresponders and broadcasts that you create.
- Default reply-to email address – enter the sender reply-to email address that will be assigned to new autoresponders and broadcasts that you create.
- Default persona – enter the persona that will be assigned to new autoresponders and broadcasts that you create.
- Disable personalization – check this box to disable all message personalization. This should not be checked in normal use.
- Offset in hours for date tags – enter the number of hours (+ or -) to offset dates/times that you insert into messages with the date/time tags. The offset is based on the timezone setting (see above).
- System email system – choose the email system to be used to send you system messages.
- System sender name – enter the sender name that will be used to send you system messages such as subscription and unsubscription notifications.
- System sender mail address – enter the sender email address that will be used to send you system messages such as subscription and unsubscription notifications.
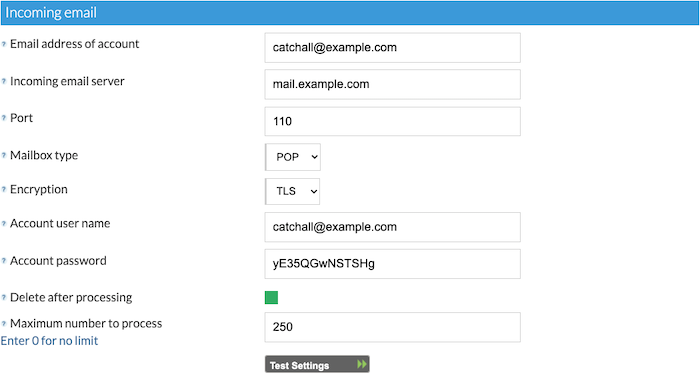
Incoming email section
Important Note: arpReach can monitor incoming emails for the purpose of processing bounced emails and handling incoming autoresponder subscription requests. This should always be set up.
You can either use your domain’s catch-all (default) email account for this or set up a separate email account. Note that some web hosts do not offer a catch-all account so you will need to use create a dedicated email account in those circumstances.
- Email address of account – enter the email address of the account you wish to be monitored.
- Incoming email server – enter the incoming email server for the account.
- Port – enter the port number of the incoming email server.
- Mailbox type – choose the mailbox type.
- Encryption – choose the encryption type of the incoming email server.
- Account user name – the login name for the account.
- Account password – the login password for the account.
- Delete after processing – check this box to delete emails from the account after processing. This should always be checked in normal use.
- Maximum number to process – the number of incoming emails that will be processed during each run of the scheduled task. We recommend you set a limit (e.g., 250) on this in case there are a large number of emails.
Your web host can provide you information on how to set up and use your domain’s catch-all account.
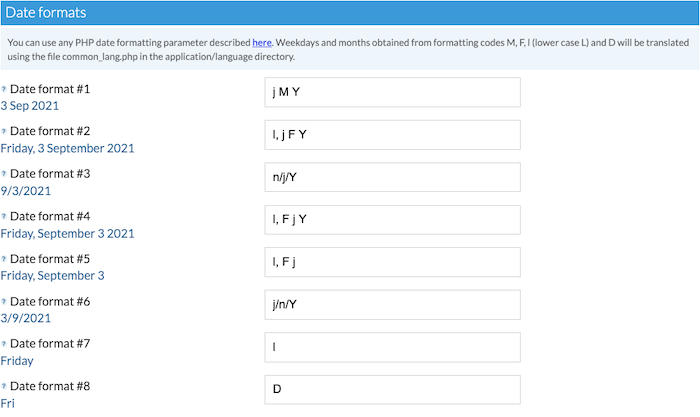
Date formats section
These are the date formats that are used to insert dates and times into your messages with the tags {DATE_1} through {DATE_8}. The info bar at the top of the section has a link to the PHP date page showing the extensive list of format options available.
Contact screens section
These settings allow you to control the look and feel of the following screens that are presented to contacts when they visit the following page types:
• Edit Contact Information
• Manage Subscriptions
• Broadcast archive

You can choose from or edit:
- Theme – choose a theme for the screens that the contact will see.
— Standard
— Plain
— Custom - Logo – choose the logo to be placed in the header of the screens that the contact will see.
— Standard – the software’s standard logo will be displaced.
— Custom – enter the URL of your own logo. The optimum height of the logo is 85 pixels. The maximum recommended width is 325 pixels.
— No Logo – no logo will be displayed.
#V2-exclusive: IP2Location
[-]
IP2Location allows you to automatically capture the country, state, and city of contacts who fill in forms using Geolocate IP Address information. You will need to register/subscribe to the IP2Location Web Service and get an API Key to make use of and activate the service.
Using this service will allow you to geo-target your contacts. As an example, why upset contacts in, say, the USA if your offer is only valid for residents of the UK. By creating a segment for just UK contacts, you can send a highly targeted message just to them.
- IP2Location API Key – add your IP2Location API Key.
- IP2Location Package – select your package choice from the dropdown. The more information you want to capture, the more API credits you use.
— Disabled (Default)
— WS1 – Country Code | 1 credit
— WS2 – Country, ISP | 2 credits
— WS3 (recommended) – Country, Region, City | 2 credits
— WS4 – Country, Region, City, ISP | 3 credits - Account Status
- Test IP2Location service – use your own IP address or use this to manually check IP addresses.
Integration section
You can create your own code to interact with and further automate #V2|arpReach using PHP and or CURL. As a safeguard, #V2|arpReach creates a unique Action remote access key which you will find here.

- Action remote access key – locate and copy your key from here.
- Generate new key – check the box to generate a new action remote access key.
Opt-In Confirmation tab
Autoresponders can have one of three different types of subscription confirmation:
- None – no subscription confirmation is required.
- Custom – confirmation email defined for each autoresponder within its settings.
- System – uses the system default subscription confirmation email.
The system confirmation email is defined in this section. Changing the settings within this section changes the confirmation email for all autoresponders whose confirmation setting is set to use the system confirmation email.
Sender section
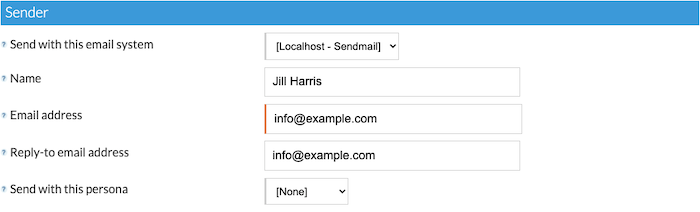
- Send with this email system – choose the email system to send confirmation emails.
- Name – enter the sender name for confirmation emails.
- Email address – enter the sender (From) email address for confirmation emails.
- Reply-to email address – enter the sender reply-to email address (where you want to get replies) for confirmation emails.
- Send with this persona – choose a persona to be used to personalize confirmation emails. Or [None] for no persona.
Message section
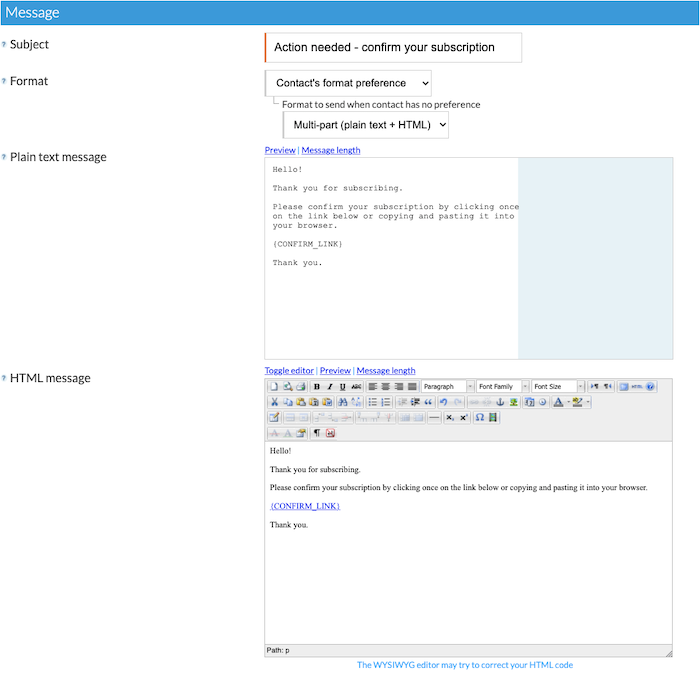
In this section, you can enter or change the following elements of the messages for the system confirmation email:
- Subject – the subject of the system confirmation email. This can be personalized.
- Format – the format for the system confirmation email.
— Contact’s format preference – the format sent will depend on the contact’s preference. You can also choose a format that will be sent when the contact has no preference.
— Plain text – the plain text version of the system confirmation email will be sent.
— HTML – the HTML version of the system confirmation email will be sent.
— Multi-part (plain text and HTML) – the multi-part version of the system confirmation email will be sent. - Plain text message – enter the copy for the plain text version of the system confirmation email.
- HTML message – enter the copy for the HTML version of the system confirmation email.
Multi-part messages require that you have content in both the Plain text message and the HTML message content boxes.
For the HTML message, click the Toggle editor link for a full HTML editor.
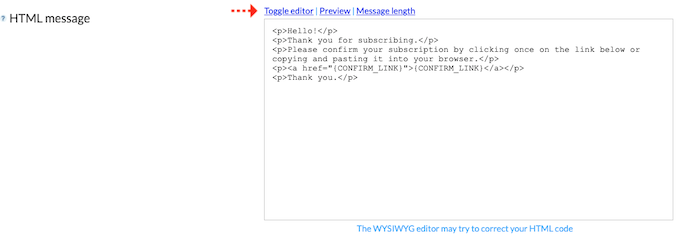
Like all HTML messages in arpReach, you can click the Toggle Editor link to edit the message with a full HTML editor.
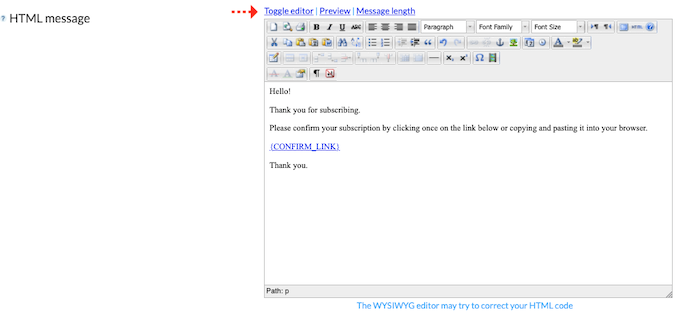
Always ensure that the body of the email contains the {CONFIRM_LINK} tag, as #V2|arpReach will replace this with a unique confirmation link that the subscriber can click to confirm their subscription.
It is important not to embed hard-coded confirmation links from example emails that you send yourself. You must use the {CONFIRM_LINK} tag to ensure that each contact receives an email with a confirmation link unique to them.
When creating confirmation links for HTML copy, you can use the {CONFIRM_LINK} tag in the HTML link tag like this:
Click <a href="{CONFIRM_LINK}">HERE</a> to confirm your subscription.
Custom Pages tab
Use the default custom pages section to avoid having to set custom pages every time you create an autoresponder.
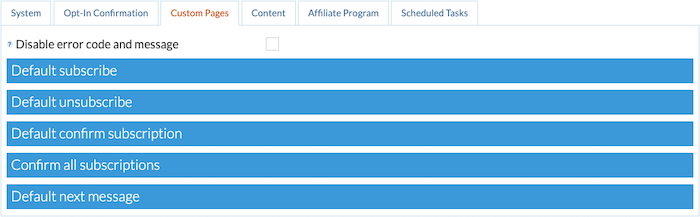
This tab contains all the default success and failure custom pages that will be assigned to new autoresponders, tracking tags, and also some system-wide custom pages.
You can change and override all of these settings for each autoresponder and tracking tag you create via their corresponding settings screens.
Many custom pages will have a code and message appended to the URL. Check the Disable error code and message box to switch these off.
Default subscribe section
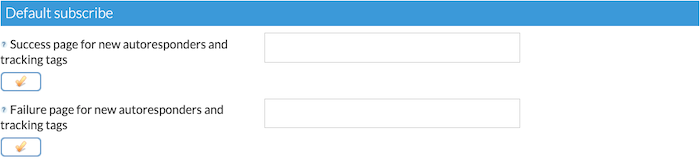
These subscription custom pages will be used for new autoresponders and tracking tags that you create. These are the pages that will be displayed when a contact submits a subscription form.
Enter the full URL of the page you want your contact to be taken to. For example:
https://www.example.com/we-have-sent-a-confirmation-link
Default unsubscribe section
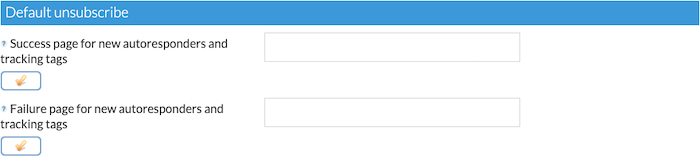
These unsubscription custom pages will be used for new autoresponders and tracking tags that you create. These are the pages that will be displayed when the contact clicks an {UNSUBSCRIBE_LINK} link in a follow-up message.
Enter the full URL of the page you want your contact to be taken to. For example:
https://www.example.com/sorry-to-see-you-go
Default confirm subscription section
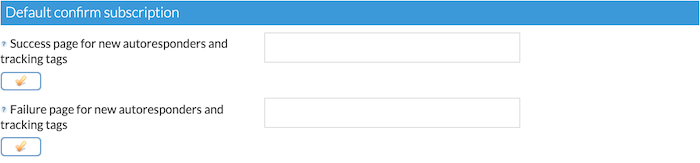
These subscription confirmation custom pages will be used for new autoresponders and tracking tags that you create. These are the pages displayed when a contact clicks a {CONFIRM_LINK} in a message to confirm an autoresponder subscription.
Enter the full URL of the page you want your contact to be taken to. For example:
https://www.example.com/thank-you-for-confirming
Confirm all subscriptions section

These are the custom pages that will be used when someone clicks a {CONFIRM_ALL_LINK} link in a message to confirm all their autoresponder subscriptions.
Default next message section
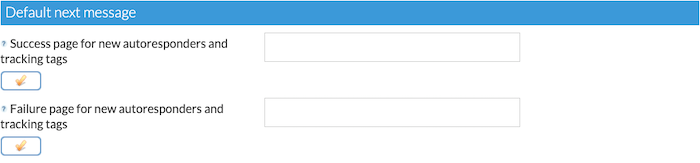
These “send next message” custom pages will be used for new autoresponders and tracking tags that you create. These are the pages that are displayed when a contact clicks on a {NEXT_LINK} link in a follow-up message.
Remember, you can use the inline help (by hovering over the blue question mark icon on the left of each field) for more information.
Content tab
The sections in this tab contain standard blocks of text that you can insert into messages with simple tags. If you later change the content of these sections, the new content will be used in all messages that contain that content’s tag.
Standard messages section
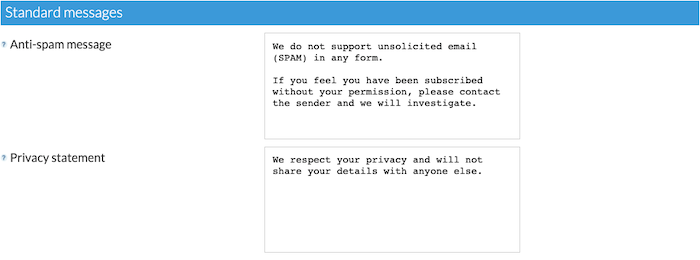
Use these tags to insert the copy into your messages:
- Anti-spam message – {ANTI_SPAM_MESSAGE}
- Privacy statement – {PRIVACY_STATEMENT}
For example, when you add {PRIVACY_STATEMENT} to your message, it will be replaced automatically with:
We respect your privacy and will not share your details with anyone else.
Contact and subscription management section
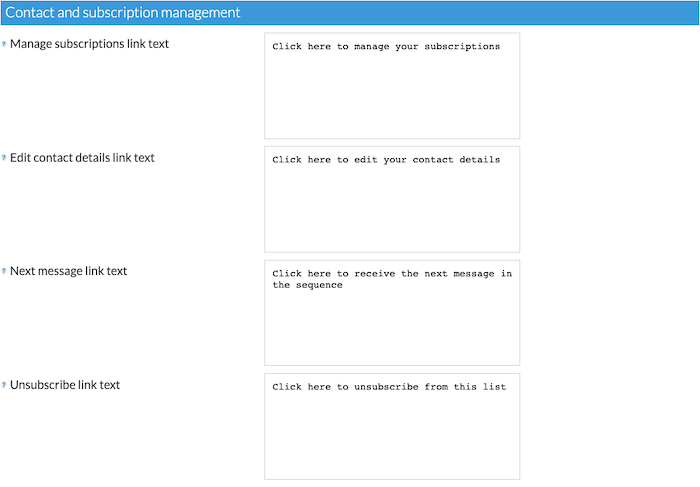
Use these tags to insert their respective contents into your messages:
- Manage subscriptions link text – {MANAGE_LINK_TEXT}
- Edit contact details link text – {EDIT_LINK_TEXT}
- Next message link text – {NEXT_LINK_TEXT}
- Unsubscribe link text – {UNSUBSCRIBE_LINK_TEXT}
Your support resources section

Important Note: The details you fill in here will also be used and be displayed on your Contact Screens.
Use these tags to also insert the copy into your messages:
- Your support email address – {SUPPORT_EMAIL_ADDRESS}
- Your support website – {SUPPORT_WEBSITE}
Resource boxes section
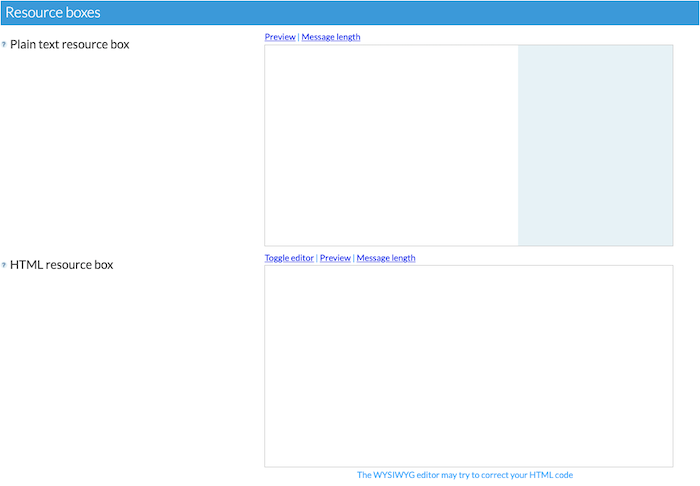
Use these to create standard boxes of information (e.g., name and address) that you wish to add to your messages but manage them in one place.
Use these tags to insert their contents into your messages:
- Plain text resource box – {RESOURCE_BOX_TEXT}
- HTML resource box – {RESOURCE_BOX_HTML}
Use resource boxes to hold company information such as your address that you want to add to every message.
System emails section
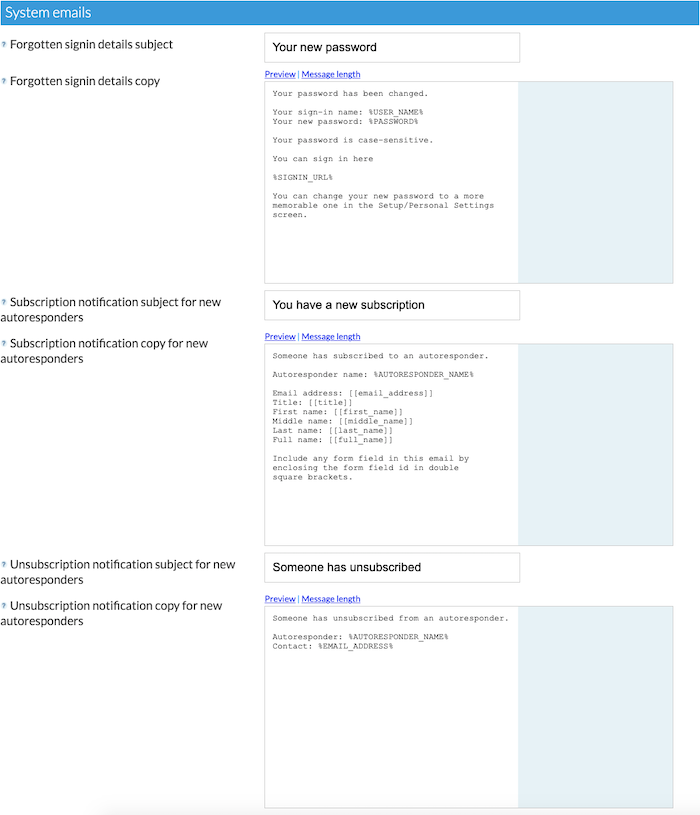
This section allows you to enter the subjects and copy for several emails that the system sends you or other users:
- Forgotten signin details subject – the subject of the email that is sent to a user who has forgotten their username and/or password.
- Forgotten signin details copy – the copy of the email that is sent to a user who has forgotten their username and/or password. Use the following tags to insert the information shown:
— %USER_NAME% – the user’s username.
— %PASSWORD% – the user’s password.
— %SIGNIN_URL% – the URL of the arpReach sign-in page. - Subscription notification subject for new autoresponders – the subject of the notification email that is sent for new subscriptions. This can be changed in the settings of each autoresponder.
- Subscription notification copy for new autoresponders – the copy of the notification email that is sent for new subscriptions. This can be changed in the settings of each autoresponder. Use the following tags to insert the information shown:
— %AUTORESPONDER_NAME% – the name of the autoresponder.
— [[field_name]] – replace field_name with the form field name you wish to include in the notification email. - Unsubscription notification copy for new autoresponders – the copy of the notification email that is sent for unsubscribes. This can be changed in the settings of each autoresponder. Use the following tags to insert the information shown:
— %AUTORESPONDER_NAME% – the name of the autoresponder.
— %EMAIL_ADDRESS% – the email address of the subscriber.
- Change Email address confirmation subject for contacts (#V2-exclusive) – the subject of the email address confirmation request that will be used for contacts who edit their contact information.
- Change Email address confirmation request for contacts (#V2-exclusive) – the copy of the change email address confirmation request that will be used for contacts who edit their contact information.
This item can be personalized with the tag {EMAIL_ADDRESS} for old email address and {CHANGE_EMAIL_ADDRESS} for new email address. Include the following tag to give the contact a way of confirming their new email address: {CONFIRM_CHANGE_EMAIL_LINK}. - Notify on change email address (#V2-exclusive) – check this box to send notification email when someone changes their email address.
- Change Email address notification subject (#V2-exclusive) – the subject of the change email address notification.
- Change Email address notification message (#V2-exclusive) – the message of the notification email that will be sent to recipients when someone changes their email address. This item can be personalized with contact information tags like {EMAIL_ADDRESS} for old email address and {CHANGE_EMAIL_ADDRESS} for new email address.
- Change Email address notification recipients (#V2-exclusive) – enter the notification recipients, one email address per line.
[-]
Affiliate Program tab
(#V2-exclusive) #V2 has an affiliate program which is only available to #V2 users.
You can earn commissions by promoting the product. This is can be done by automatically including and using a Powered by #V2 link at the end of your email messages. The default wording is fully customisable and we encourage you to change it and personalize the link to reflect your brand and business.
Very Important Note: If you do not change the words, there is a risk that email companies like Gmail will flag your emails as potential spam because too many users have the ‘same’ links in their emails.
It is in your interest to be professional and make the effort to be unique by making a very simple change!
Your affiliate link section
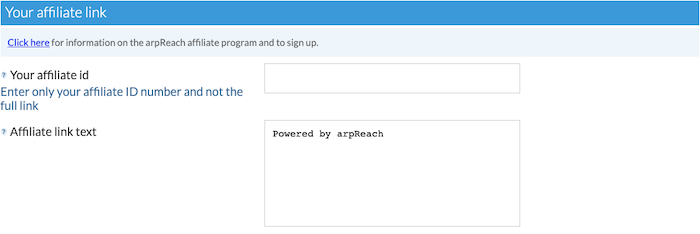
- Your affiliate id – only enter your ID. The software will build it into a full affiliate link when required.
- Affiliate link text – enter the text that you wish to appear above your link at the end of your messages.
Affiliate ads section

If you wish to promote #V2 in your messages using more than the simple Powered by #V2 link, you can create full plain text and HTML ads that can be inserted into your messages using simple tags.
- Plain text affiliate ad – enter the plain text copy of your affiliate ad. This can be inserted into your messages with the tag {AFFILIATE_AD_TEXT}.
- HTML affiliate ad – enter the HTML copy of your affiliate ad. This can be inserted into your messages with the tag {AFFILIATE_AD_HTML}.
Scheduled Tasks tab
#V2|arpReach has a scheduled (cron) task that runs regularly to carry out important functions of the software including sending out confirmation emails, follow-up messages, and broadcasts. The scheduled task is also responsible for processing incoming emails such as bounces and subscription/unsubscription requests.
The scheduled task handles all of the automated functionality of the system such as sending out follow-up messages and broadcasts.
Settings section
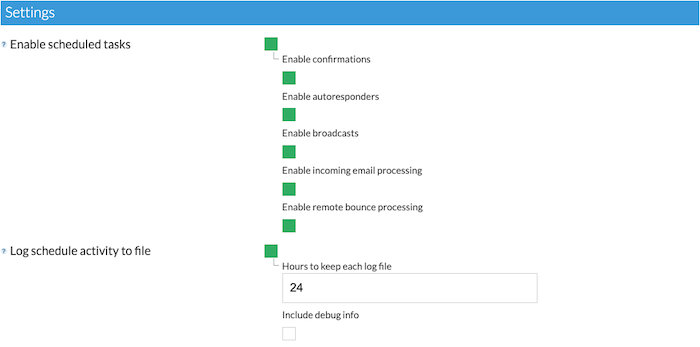
- Enable scheduled tasks – check this box to enable the scheduled task functionality. Note that for this to work, the scheduled task (cron) must have been set up on your server during installation. Your options are:
— Enabled confirmations – allows due subscription confirmation emails to be sent out.
— Enable autoresponders – allows due follow-up messages to be sent out.
— Enable broadcasts – allows due broadcasts to be sent out.
— Enable incoming email processing – allows locally processed bounces and incoming emailed subscription and unsubscription requests to be processed.
— Enable remote bounce processing – if any of your emails systems have remote bounce processing defined in their settings, check this option enables that processing.
- — Enable RSS Feeds reading (#V2-exclusive) – RSS feeds will automatically be read into variables.
— Enable IP2Location processing for existing Contacts (#V2-exclusive) – automatically process existing contacts to read the IP address used to complete forms and determine the country. If checked, the following options become available:
—— Enable IP2Location for Contacts who ALL unsubscribed
—— Enable IP2Location Contacts with Failed subscriptions.
[-]
- Log schedule activity to file – logs all activity of the scheduled task to files in the schedule_logs directory. This directory needs to have its rights and permissions correctly set at the time of installation. See the installation section for details.
— Hours to keep each log file – specify how many hours each scheduled task log file should be kept before being deleted automatically.
— Include debug info – includes system info such as memory usage that may be useful in problem diagnosis.
Database growth control section
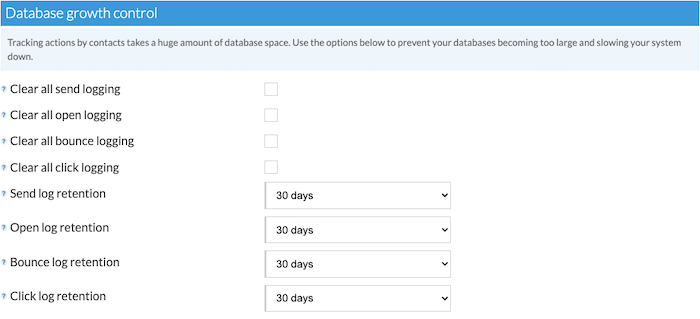
Tracking actions of contacts takes a huge amount of database space. Use the options in this section to prevent your databases becoming too large and slowing your system down. We recommend you backup your database using phpMyAdmin or similar before changing these settings or deleting logs.
- Clear all send logging – check this box to instruct the scheduled task to delete all send tracking.
- Clear all open logging – check this box to instruct the scheduled task to delete all open-rate tracking.
- Clear all bounce logging – check this box to instruct the scheduled task to delete all bounce tracking.
- Clear all click logging – check this box to instruct the scheduled task to delete all link click tracking.
- Clear errors in contacts send log (#V2-exclusive) – check this box to instruct the scheduled task to delete all errors in contacts send log.
[-]
- Send log retention – choose the length of time to retain detailed send logging. After this time, send logs will be purged and contacts can no longer be filtered on those sends.
- Open log retention – choose the length of time to retain detailed open logging. After this time, open logs will be purged and contacts can no longer be filtered on those opens.
- Bounce log retention – choose the length of time to retain detailed bounce logging. After this time, bounce logs will be purged and contacts can no longer be filtered on those bounces.
- Click log retention – choose the length of time to retain detailed link click logging. After this time, click logs will be purged and contacts can no longer be filtered on those clicks.
Deleting of tracking data is a one-time operation. The scheduled task will uncheck the options you’ve chosen after it has reset the tracking database.
Cancel and reset section

Click this button to cancel and reset the currently running scheduled task. This option should only be used in troubleshooting situations.